Venison Sausage Breakfast Burritos for the Week

bfast burrito pic

Breakfast burritos are something I could eat daily, and appeal to me for any meal, not just breakfast. They are also great to take camping, just remove paper towel first and heat in tin foil over fire or on a camp stove.

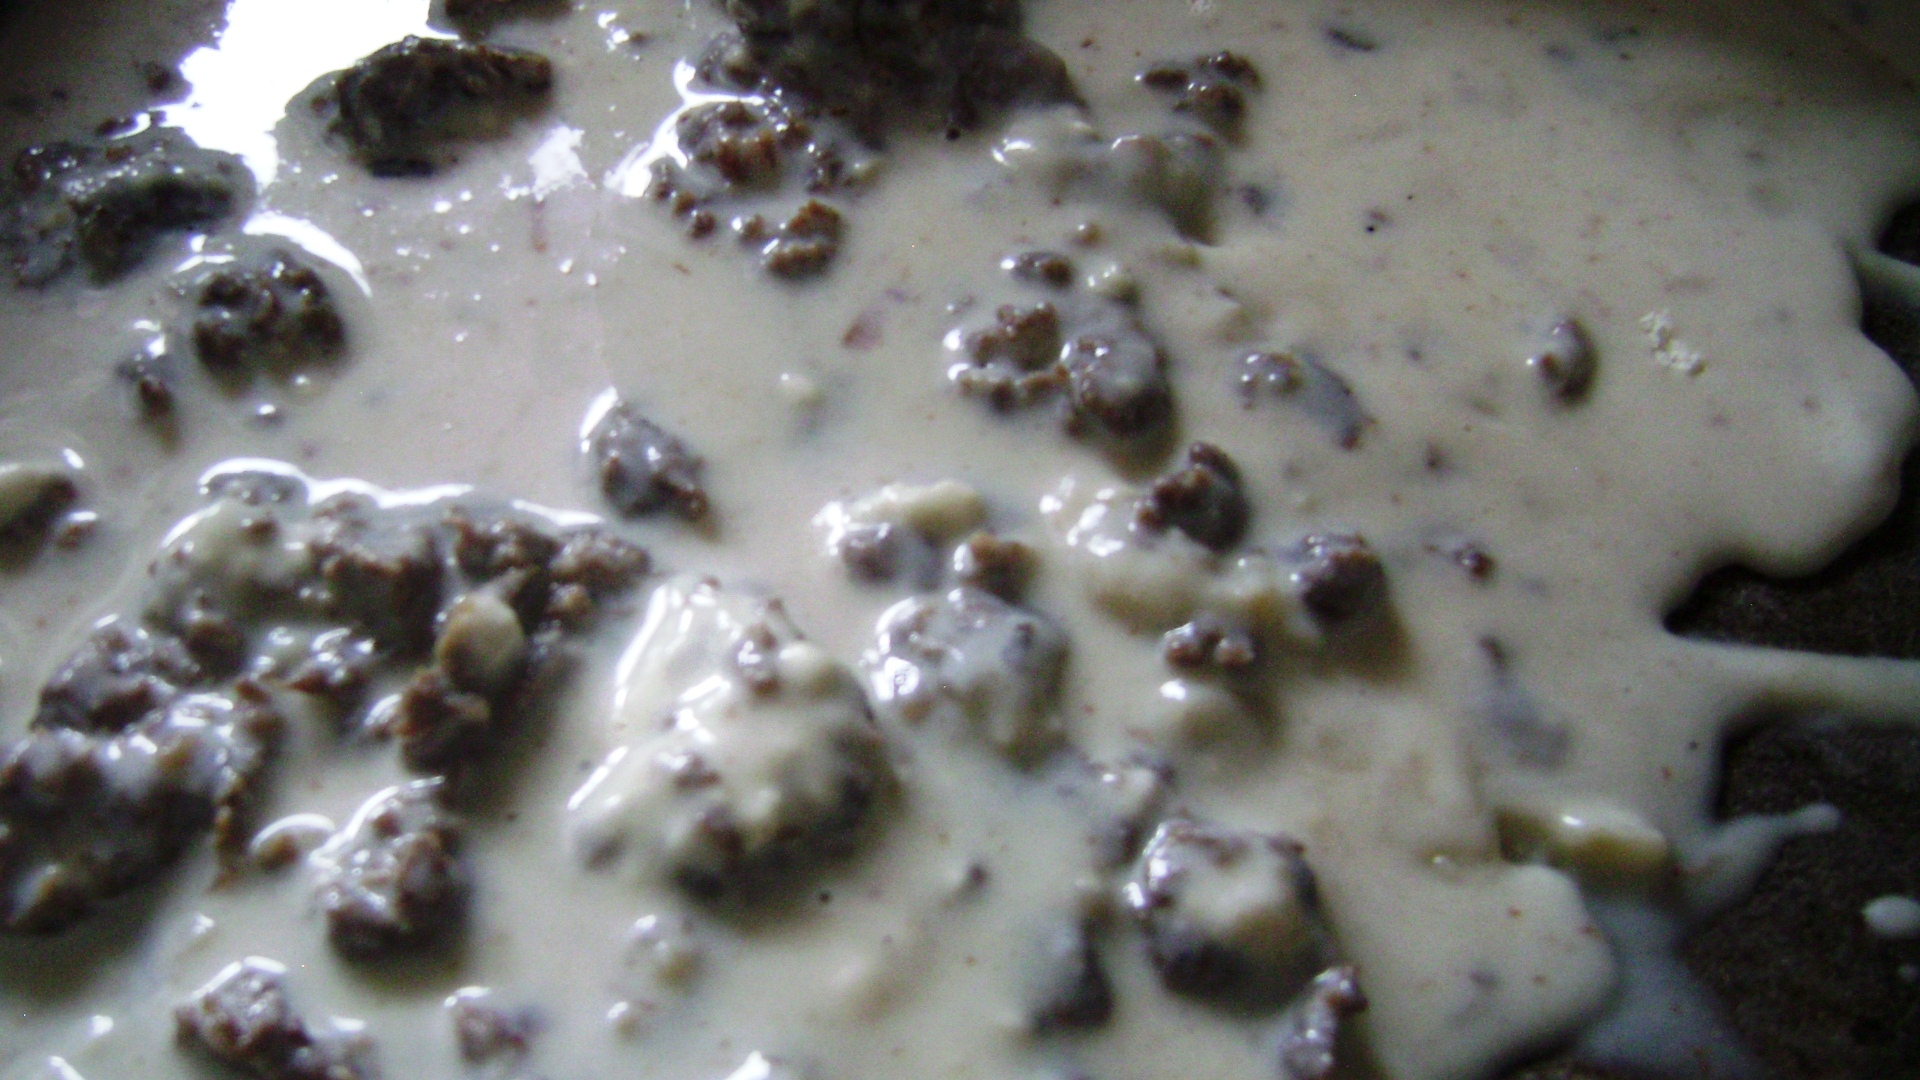
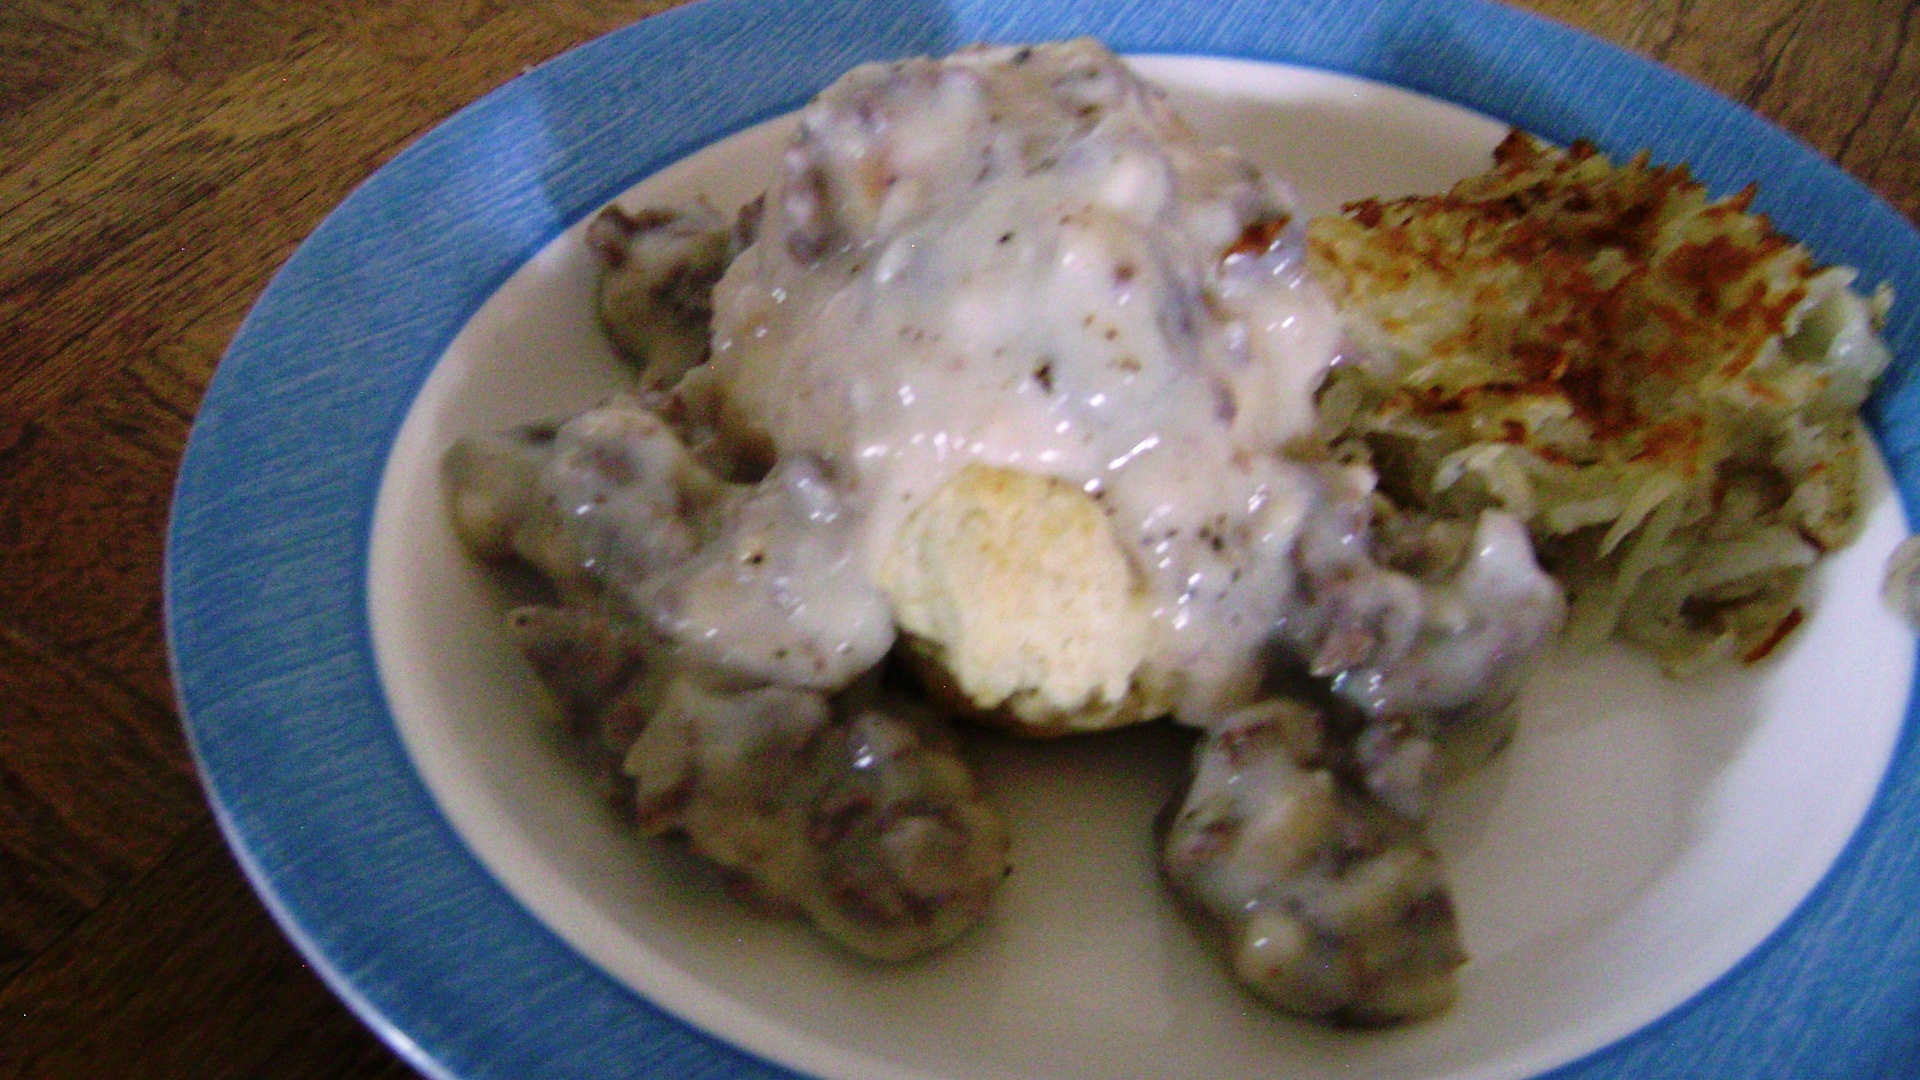
???????????????????????????????As a matter of fact, this recipe is the perfect reminder of the full-circle aspect of hunting: harvesting, processing, appreciating, and consuming. The photo to the left is of Joe’s late whitetail deer whose meat is in these breakfast burritos. The image is of the reflection of the mount in the living room window with our porch in the background. It’s neat to be sitting on the couch and looking at the window in front of me and seeing the deer that is behind me reflected. This recipe makes five venison sausage breakfast burritos that are sealed up and frozen until ready to eat. High in protein, these burritos are a combination of crispy hash browns, onion, salsa, cheese, and eggs wrapped inside a soft flour tortilla, and make a complete breakfast any day. Make these on a Sunday and breakfast is ready for the week. All these burritos require is a minute and a half in the microwave while wrapped in their paper towel.

     You will Need:

  • 4 oz. Venison Breakfast Sausage- here’s a post on making your own
  • 1/2 cup frozen shredded hash browns
  • 1/2 cup diced yellow onion (1/2 of medium onion)
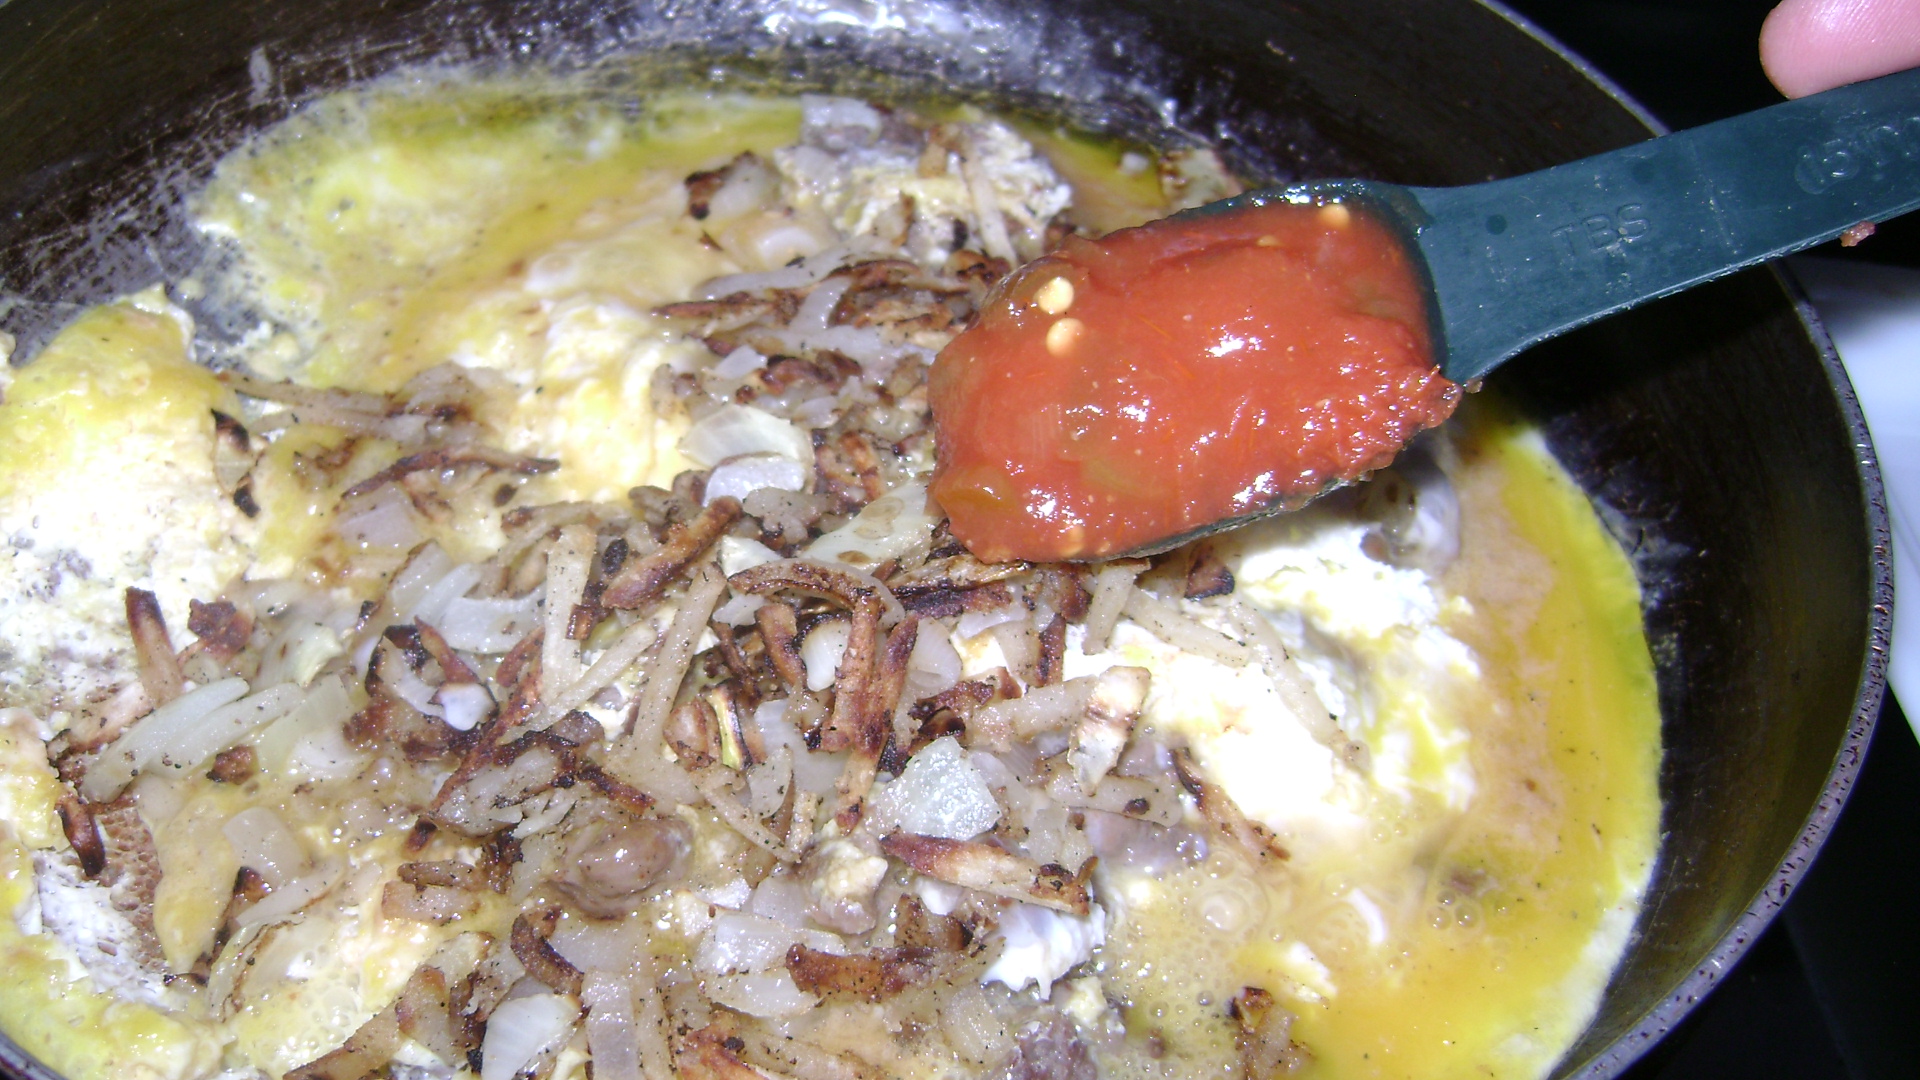
  • 3 T. Medium Salsa
  • 6 eggs
  • 1/2 cup shredded cheddar, divided
  • 5 Taco-Size Mission tortillas (I use Mission Carb Balance)
  • 1 tsp. butter
  • Garlic salt + Pepper
  • 1 T. 2% Milk
  • Cholula hot sauce, four dashes, if desired
  • 5 Paper Towels
  • Aluminum Foil
  • Ziplock bags

Yield- 5 Burritos

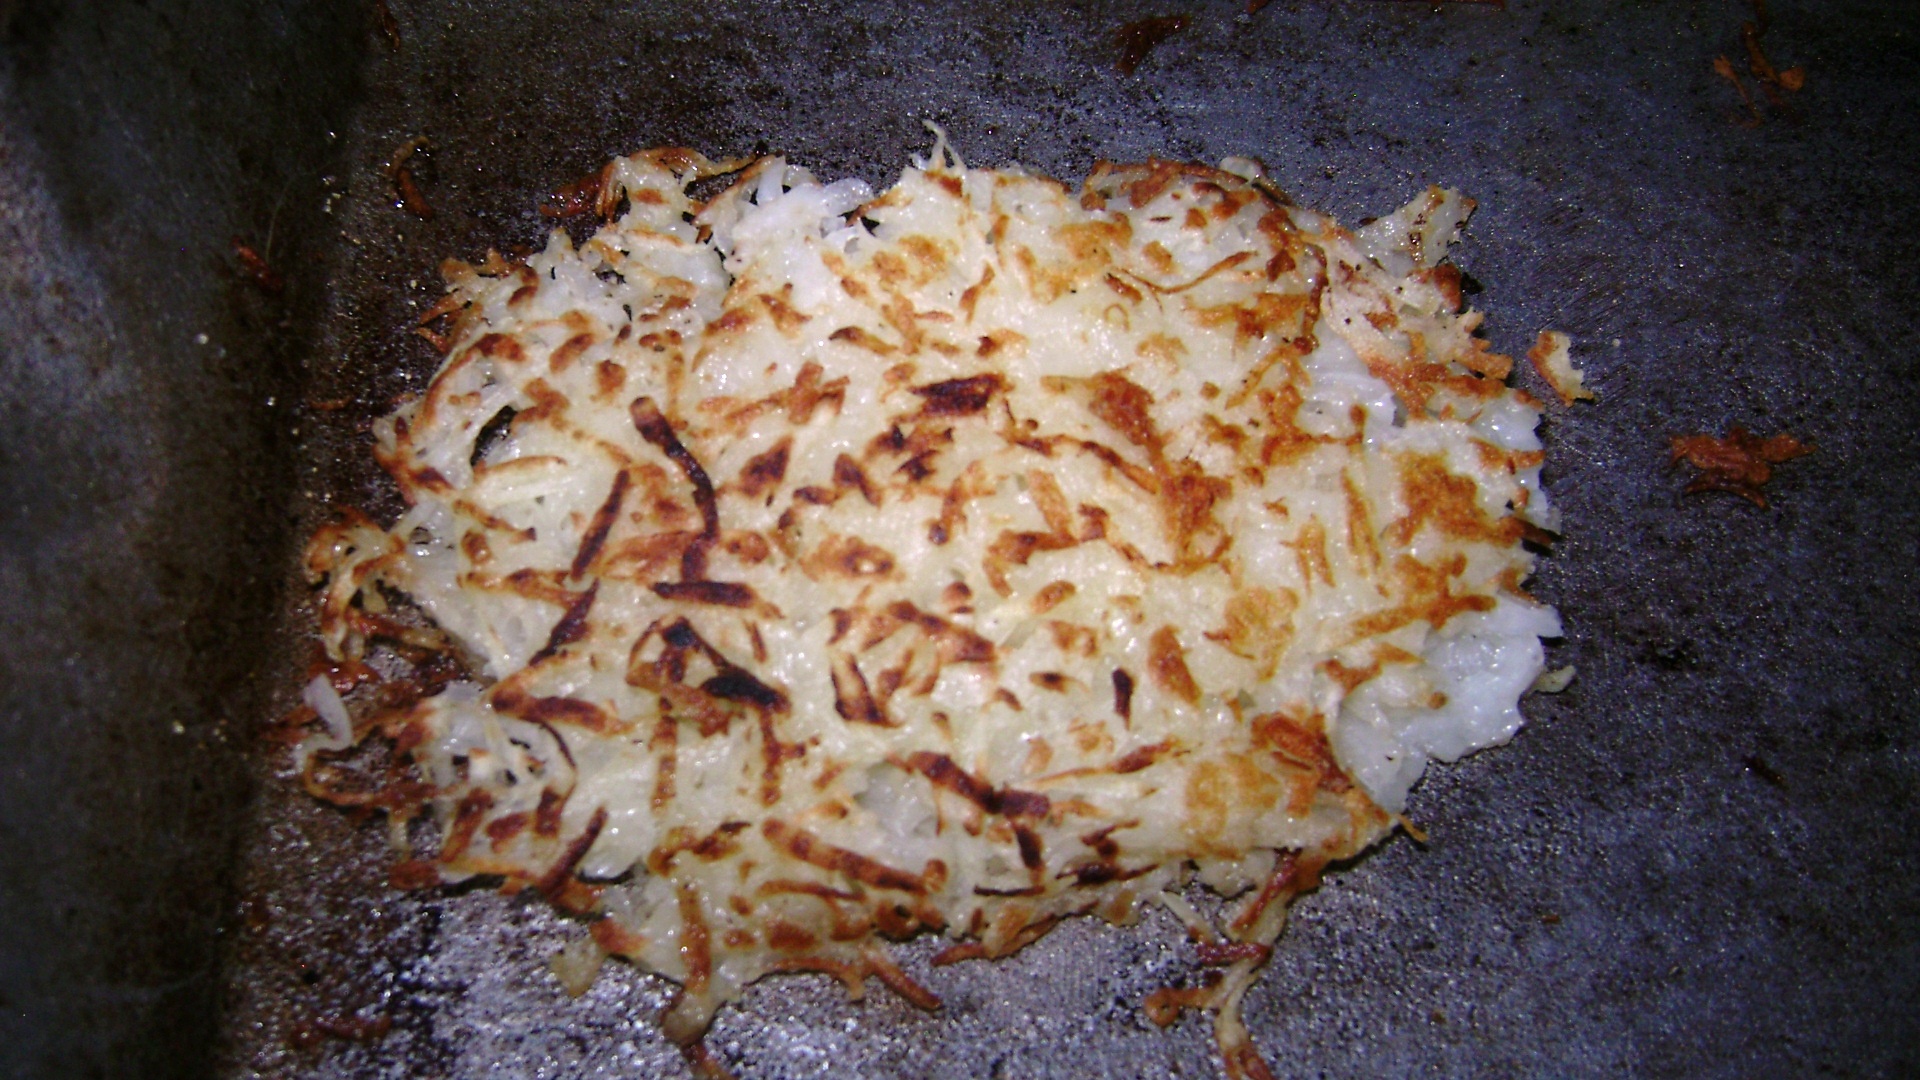
1. Spray griddle or frying pan with cooking spray. Add hash browns and season with garlic salt and pepper. Spray the griddle and hash browns again with cooking spray to coat. Cook 3-4 minutes, add in a tsp. of butter.

DSC01568 DSC01569Continue cooking 5 more minutes, and in the meantime, dice the onion. Add onion to hash brown mixture.

DSC01570

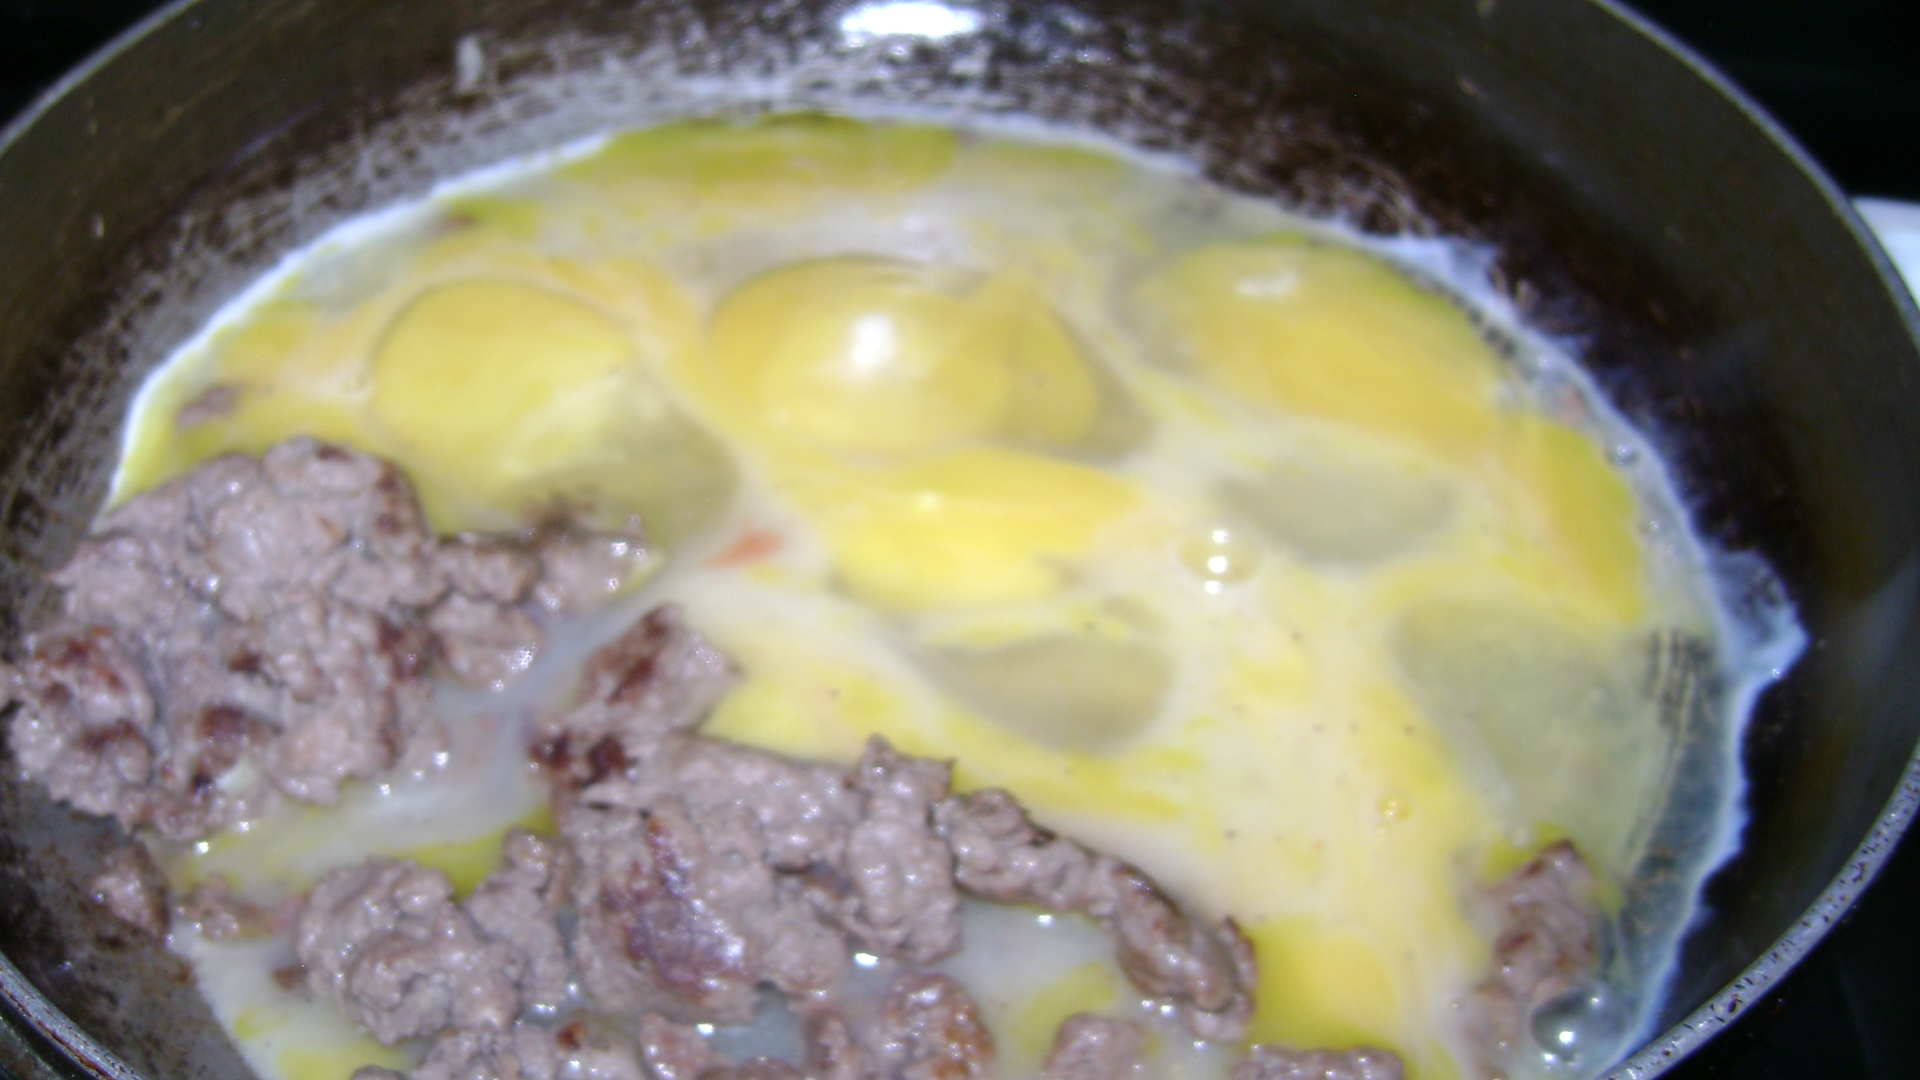
2. Brown sausage in frying pan while onions and hash browns cook another five minutes. Keep an eye on the hash browns and stir occasionally.

DSC01572

DSC01573

3. While sausage cooks, crack eggs into small dish and add in 1 T. milk.

Beat eggs and add in  the Tablespoon of milk, 4 dashes of cholula, and a dash of and salt and pepper.

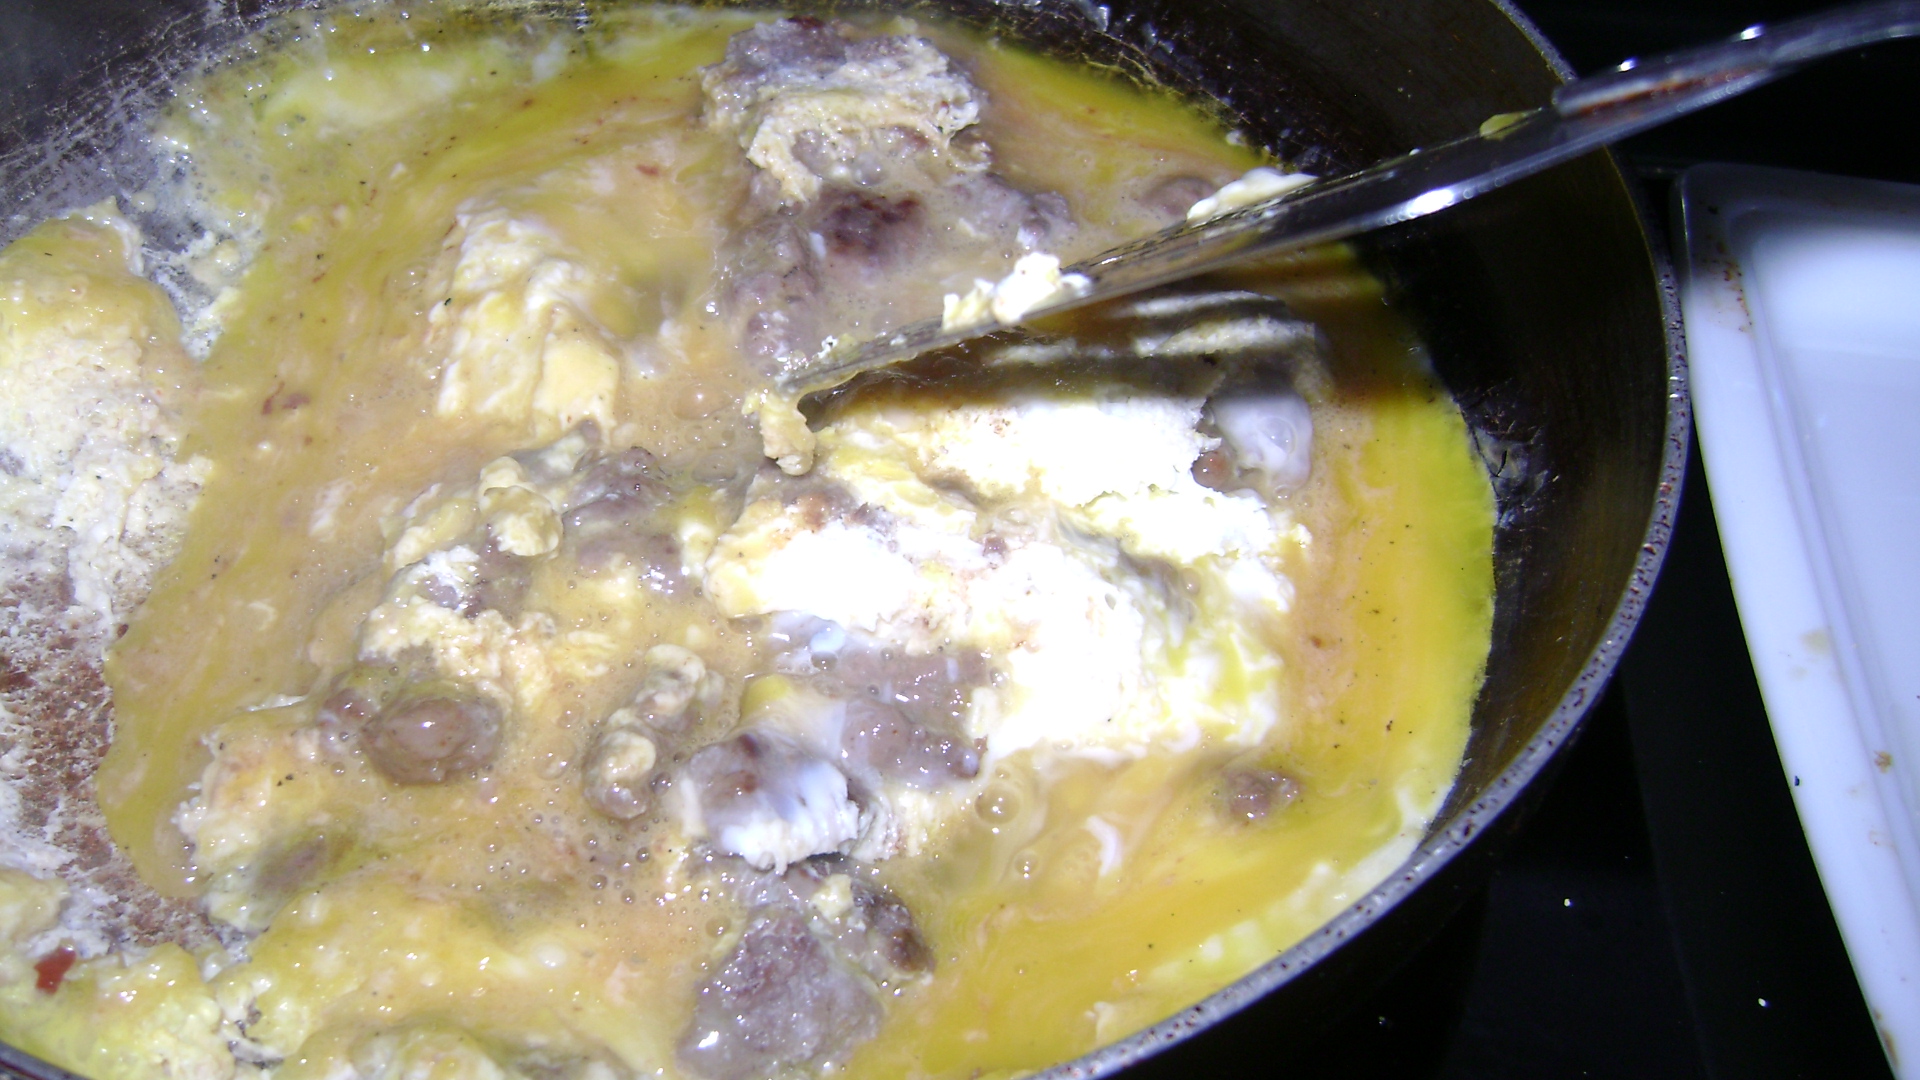
4. Once sausage is cooked, spray frying pan again with cooking spray. Pour in scrambled eggs and stir gently                                     over medium heat for about 1 minute.

DSC01581

Next add in onion/hash brown mixture and salsa, stir into egg mixture.

DSC01584

Cook another minute until eggs are softly set.

DSC01582

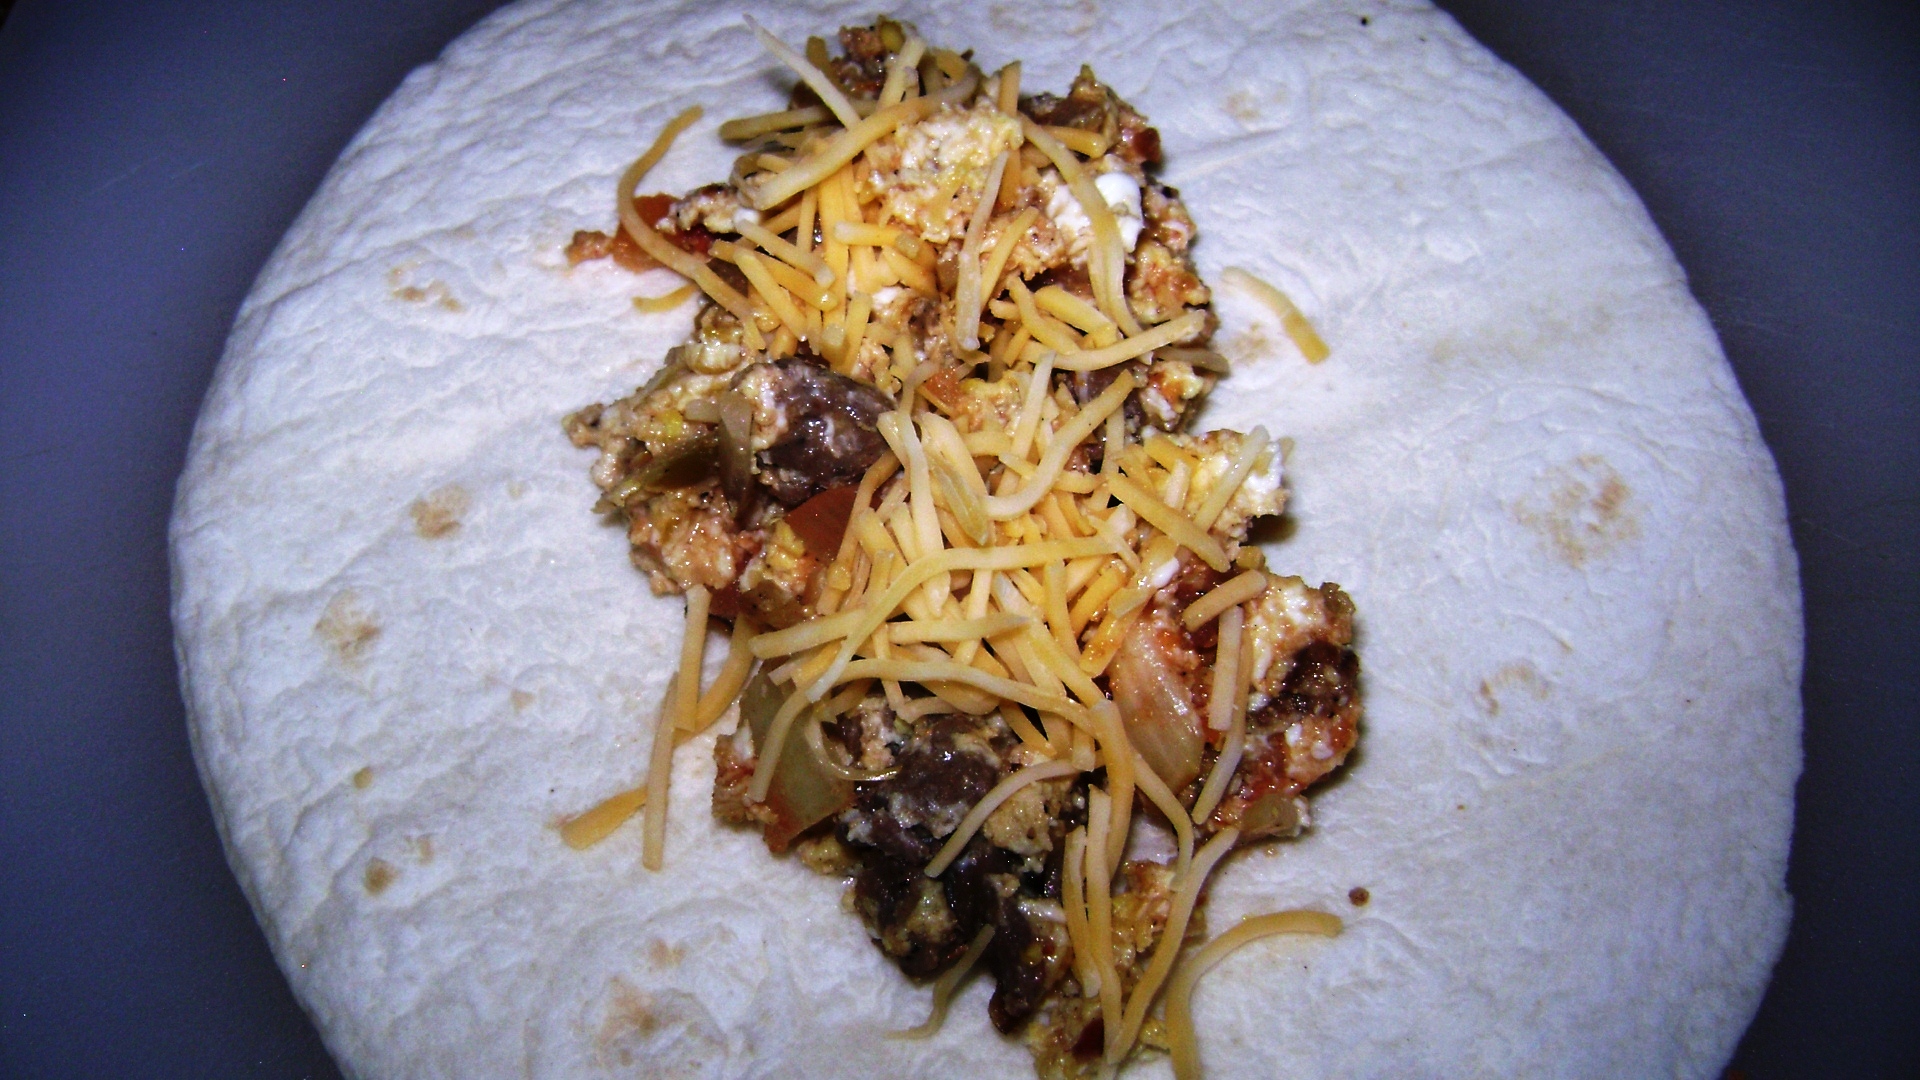
5. Next step is assembling the burritos: First measure out another 1/4 cup of shredded cheddar. Set out a cutting board. Grab a roll of paper towels, 1 gallon or 2 quart ziplock bags, and aluminum foil.

???????????????????????????????

6. Lay tortilla on cutting board and spoon egg mixture into center of burrito in line and top with another pinch of shredded cheddar cheese.

DSC01590

7. Pinch in ends of tortilla and roll.

DSC01591

8. Set tortilla on paper towel and pinch in ends, roll again.

DSC01593

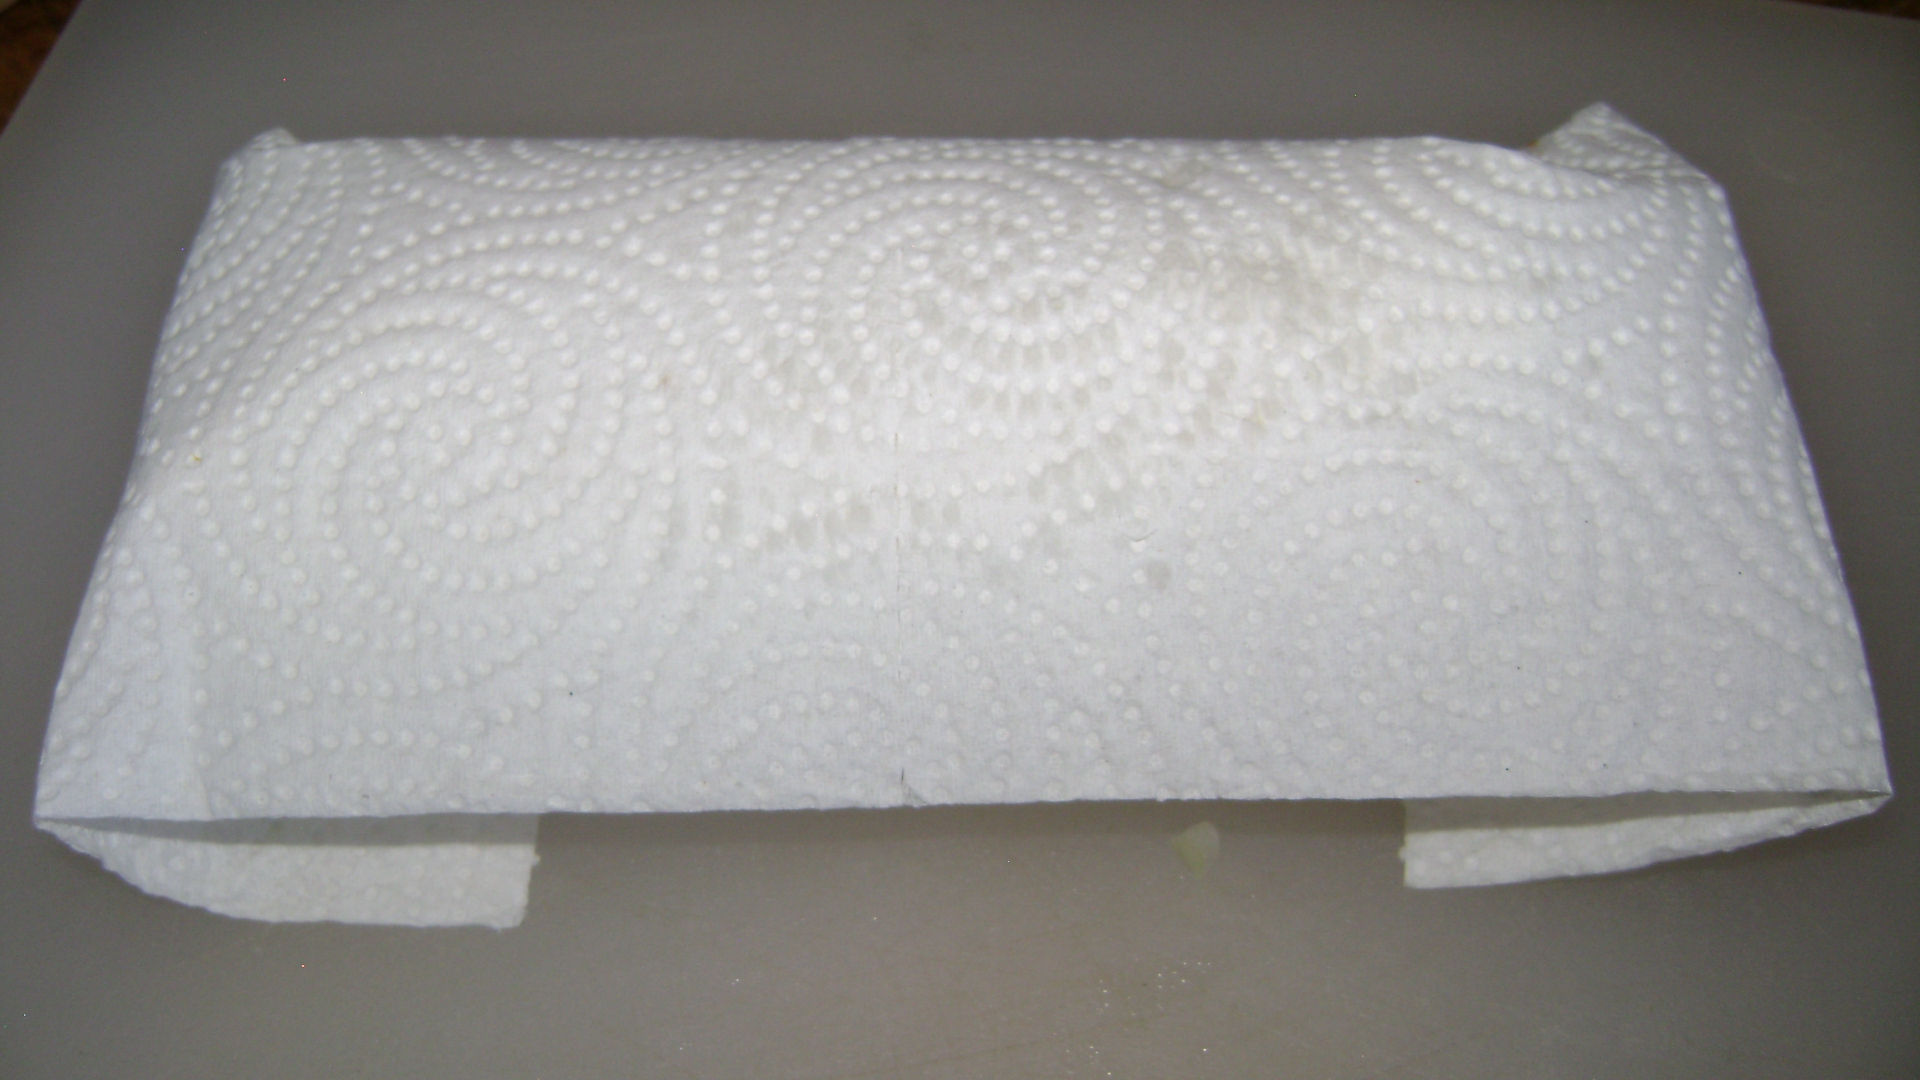
9. Set inside piece of aluminum foil and repeat.

DSC01596

10. Place tortillas in ziplock bag and place in freezer. They should last without freezer burn for months like this. I cannot say truly how long, because ours are always gone very quickly! When ready to eat, unwrap tin foil and place tortilla still wrapped in the paper towel on a plate. Microwave for 1.5 minutes. Remove paper towel and enjoy a savory and delicious breakfast any day of the week.

Approximate Nutrition Stats from Livestrong:

nutrition burritos

Advertisement

Pumpkin, Butterscotch, & Greek Yogurt Breakfast Trifle

DSC01499

This is a great festive breakfast that also makes for nice presentation for a family gathering or potluck. Once per week I cook breakfast for the local Kiwanis Club, and I recently made this to kick off the start of the holiday season. Packed with protein and fiber, with a little sweetness to boot. 

  • 32 oz. container plain greek yogurt
  • 32 oz. container plain yogurt
  • 14 oz. can pumpkin
  • 1 box instant butterscotch pudding
  • 1 cup milk
  • 1 bag Special K honey granola
  • 1/2 tsp. Cinnamon
  • 1/4 tsp. Nutmeg
  • 1/4 tsp. Ginger
  • 2 T. pure maple syrup

1. Stir together in a bowl the greek and plain yogurts until smooth.

2. Add cold milk to pudding and whisk in a separate small bowl.

3. In another small bowl, combine pumpkin and spices.

4. Using a large glass bowl, begin the trifle with a layer of yogurt.

5. Add a thin layer of pumpkin.

6. Add a layer of butterscotch pudding.

7. Sprinkle with granola.

8. Repeat steps 4-7.

9. Finish the trifle with a final layer of yogurt sprinkled with the remaining granola.

10. Drizzle with 2 T. maple syrup.

11. Cover and refrigerate.

DSC01503

Venison Sausage Biscuits & Gravy for Two with Homemade Hash Browns

???????????????????????????????

This is not a quick breakfast to make since it is completely from scratch, but it IS worth the time to make it. It’s a nice weekend breakfast for when you have a little extra time to cook in the morning and enjoy a hearty meal. On a snowy Saturday morning a few weeks ago, I decided to switch up the usual eggs and bacon/ breakfast sandwich routine for this recipe. I needed to use up a partial package of venison sausage I had in the freezer and pulled out my old dutch oven recipe for biscuits and gravy. But first, get the hash browns going because they take a while!

Hash Browns:

  • 1 Russet Potato, peeled
  • 1 T. Butter
  • Garlic salt
  • Black pepper

1. Peel potato and grate into shoestrings.

2. Spray with cooking spray an aluminum dutch oven or frying pan and add in 1/2 T. butter.

3. Add in potatoes in a thin layer and turn heat to medium-low. Watch carefully that the heat is not too high; they need to cook low and slow.

4. Flip potatoes every 3-4 minutes while adding in remaining butter until outside is browned and inside is no longer mushy. This will take about 20 minutes.

???????????????????????????????

MEANWHILE… start making your biscuit dough.

Fluffy Biscuits:

Yield- 7

  • 2 cups flour
  • 1/2 tsp. salt
  • 1 T. Baking powder
  • 1/4 cup shortening (crisco)
  • 1 cup milk

Blend flour, salt, and baking powder and mash in shortening with a fork until crumbly.

???????????????????????????????Add milk and stir until dough sags down into trough and pulls away from bowl edge.

???????????????????????????????

Place dough on lightly floured surface, knead for 30 seconds, pat out gently until 1/2 inch thickness. Pinch off pieces of dough and shape into a smooth ball. Place biscuits into a greased dutch oven or pie pan.

???????????????????????????????

Cook 10-12 minutes at 350 until biscuits are golden brown.

???????????????????????????????

WHILE the biscuits are taking form in the oven, make your gravy.

Venison Sausage Gravy:

  • 1/2 lb. ground venison breakfast sausage (links to my homemade recipe)
  • 1 cup Milk
  • 1/2 cup Flour
  • 1/2 cup water
  • Salt and black pepper

Brown sausage in frying pan. Add milk and while milk is still cool, add in flour and water.

???????????????????????????????

Stir constantly as the mixture thickens over medium-low heat until it reaches desired texture.

???????????????????????????????Salt and pepper to taste & serve over biscuits for a delicious, homemade breakfast.

???????????????????????????????

The Calm Before the Storm

I hope your Sunday is everything you had planned it to be. This Sunday afternoon we have what I like to call The Calm Before the Storm: when there is eerily no wind at all for an extended period of time, but the skies to the north and west darken in anticipation of the coming storm.

image

I could not resist the opportunity to go for a run this afternoon due to The Calm Before the Storm and 41 * temps, even though I had intended to take today off since I have run the past three days. I knew I would regret it if I did not take advantage of these rare conditions, so I set out for a 3 mile out-and-back trip to watch the clouds darken to the north and the storm roll in. And now, and hour later, the storm has arrived and the snow is falling.

Yesterday I decided to flip back to an old recipe and make bread for the week. Molasses Wheat Sandwich Bread is from the cookbook A Taste of Dubois. It has been a while since I have made this bread, the last time being while I was still working as a pastry chef two years ago. When I make a sandwich or put an egg on toast, I like a hearty wheat bread, and this fits the bill. It has a distinct flavor from the molasses but is not overly sweet. This recipe makes a wholesome sandwich bread that would also be a good side for soups just plain with a smear of butter. The only suprise was that the slices do not get as large as store-bought sandwich bread, probably only half the size, which is fine by me because it is a filling bread anyway. Just be prepared for smaller sandwiches!

DSC01093

Molasses Wheat Sandwich Bread

Yield: 1 loaf (approximately 17 sandiwch slices)

Bowl #1

  • 3/4 cup boiling water
  • 1/2 T butter
  • 1 t salt
  • 1/4 c. sugar
  • 1/2 c. old fashioned oats

Bowl #2

  • 1/4 c. + 2 T. warm water
  • 1 pkg. yeast (1/4 oz.)
  • 2 T. Molasses
  • 2 T. brown sugar
  • 1 1/2 cup Whole Wheat Flour + 1 T. for kneading
  • 1 1/2 cup AP Flour + 1 T. for kneading

DSC01073

1. In a mixing bowl combine boiling water, butter, salt, and sugar. Stir in oats and allow to cool for one minute.

DSC01074

2. In another larger mixing bowl, dissolve yeast in warm water.

DSC01076

3.  Stir in molasses, brown sugar, and 1/2 cup flour. Beat with a wooden spoon until smooth. Add oat mixutre and the remaining 2 1/2 cups flour to make a stiff dough.

DSC01078

4. Transfer dough onto pastry mat or board to knead until smooth and elastic. I added another Tablespoon of both whole wheat and AP flour during this stage to get the dough to the desired consistency.

DSC01079

5. Shape dough into a ball.

DSC01081

6. Place in a greased bowl sprayed with cooking spray, turning once to coat both sides.

DSC01082

7. Cover with plastic wrap and let rise for about 1.5 hours (mine rose for 2 hours while I was out doing errands.)

DSC01084

8. Remove from bowl and shape into a log. Fold into thirds.

DSC01085

9. Now fold into half and place into a greased loaf pan.

DSC01086

10. Bake at 375* for 4o minutes until lightly browned. Check at 30 minutes to see if the bread needs to be covered with tin foil for the last 10 minues if it is getting too brown. Loosen and remove from pan and allow to cool. I don’t have a wire rack, so I simply invert my loaf pan and let the bread rest on it.

DSC01092

11. Once bread is completely cooled, slice into individual slices using a bread knife, if desired.

DSC01103

DSC01094

My loaf yielded 17 sandwich slices, which I packaged into ziplock bags to make my own loaf for the week (6 slices per quart-bag, then all bags into a gallon-bag).

DSC01106

Nutrition Data– From Spark Recipe Calculator, per 1/17 slice:

Calories- 106

Fat- 0.75 g

Total Carbohydrate- 23 g

Dietary Fiber- 0.75 g

Protein- 2.3 g


Elk Sausage & Spinach Quiche with Savory Crust

DSC01019

What can I say, it’s hard to stop eating this quiche! The crust is buttery, savory and melts into the mildly spicy breakfast sausage, spinach, onion, and cheedar cheese. Simple, filling, and good for any meal of the day.

Elk Sausage & Spinach Quiche with Savory Crust 

Servings: 4 large slices

  • Savory Pie Crust: recipe follows

-1.5  c Butter or Crisco shortening

-3 c. AP Flour

-1 egg

-1 T. White  Vinegar

-1 tsp. salt

-5 T.cold water

Using a pastry knife, work flour and butter/crisco together until mixture forms into coarse crumbs, then add egg, vinegar, salt, water and combine. I prefer using Crisco, but real unsalted butter works fine too. Form crust into ball and place in freezer for 10 minutes in a ziplock bag if you are using it immediately, this makes the dough much easier to work with. This recipe yields a top and bottom crust; I use one right away and freeze the other for later use for quiche or fruit pies.

  • 1/2 lb elk or venison breakfast sausage
  • 1/3 c frozen spinach, or more if it’s fresh
  • 1/4 c diced yellow onion
  • 1/3 c shredded cheddar cheese
  • 3 eggs
  • 1/2 c Half and Half ( I use fat-free)
  • Salt and Pepper
  • 1 T olive oil

1. Make pie crust as directed above. Divide dough in half, use one half now & freeze one half in a ziplock bag for later use.

2. Layer pie crust in a pie tin WITHOUT greasing the pan first.

3. Pour olive oil into medium frying pan. Add in diced onion and spinach. I threw my spinach in frozen because I didn’t have much left. Sautee on medium heat for 2 minutes

4. Add in breakfast sausage and cook until it crumbles and is no longer pink.

5. In a small bowl, beat three eggs with 1/2 c. half and half. Sprinkle with salt and pepper.

6. Pour meat mixture into pie crust and spread evenly on bottom.

7. Pour egg mixture over top.

8. Sprinkle with cheddar cheese.

9. Cover with aluminum foil and bake at 350 for approximately 35 minutes. If eggs are still runny, uncover and bake another 10-15 minutes until eggs poof up and are firm when you cut into the quiche.

DSC01018

Nutrition Information: 1/4 slice = Note: For dinner if I am really hungry I will eat an entire 1/4 of the quiche, but it is a lot. For breakfast or lunch, I often cut smaller slices, like 1/6 or 1/8 size. Information below is for 1/4 slice. The nice thing though, is that I never feel overly stuffed like after eating a large portion of some foods. This is a wholesome recipe with a good dose of protein that will keep you full and energized.

Nutrition Facts

Serving Size: 1/4 slice

Amount per Serving

Calories 674

Calories from Fat 395.5

% Daily Value *

Total Fat 43.94g

67%

Saturated Fat 26.06g

130%

Cholesterol 302.86mg

100%

Sodium 895.96mg

37%

Total Carbohydrate 37.16g

12%

Dietary Fiber 1.86g

7%

Sugars 3.32g

Protein 28.56g

57%

Est. Percent of Calories from:

Fat

59%

Carbs

22%

Protein

16%

* Percent Daily Values are based on a 2,000 calorie diet. Your daily values may be higher or lower depending on your calories needs.

Read more: http://www.livestrong.com/recipes/elk-sausage-spinach-quiche/#ixzz2HLWwgijd

1-egg Sausage and Spinach Scramble

Yesterday I enjoyed a beautiful Sunday afternoon with my first x-country ski of the season, a 5-mile trip to my old stomping grounds on the mountain. While I had debated going at all, due to the 11 degree weather, there was zero wind and sunny skies so I layered up, put on my balaclava and went for it. The hour and forty-five minute ski in the crisp air left me quite hungry for dinner last night, and also for breakfast this morning. For breakfast, I decided to make a quick, light scramble using our elk breakfast summer sausage.

DSC00973-1

1-egg Sausage and Spinach Scramble

  • 1 egg (local if possible!)
  • 1 T. medium salsa
  • 1 T. +/- raw breakfast sausage
  • 1 T. shredded cheddar
  • 2 T. spinach (I used frozen, fresh would be fine, too)
  • sprinkle of black pepper
  1. Spray a frying pan with cooking spray and cook breakfast sausage until no longer pink.
  2. Re-spray the pan with cooking spray, crack egg into pan and scramble with fork.
  3. Add in spinach (still frozen is fine) and salsa.
  4. Cook on medium heat until eggs set up and top with a large pinch of shredded cheddar.
  5. Sprinkle with black pepper. Breakfast is served!

Making Your Own: Venison Breakfast Sausage

What can I say, nothing beats homemade breakfast sausage that tastes as good or better than the storebought variety. While I know it is not always possible to do for a variety of reasons ranging from cost to time to lack of space, I also really appreciate being able to be a part of the entire hunting process, from the harvest to the processing to putting the meal on the table. Yesterday Joe and I made 18 lbs. of venison breakfast sausage with his late whitetail buck. He is a very nice older deer who will eventually have a place on our wall, and as such, we decided not to just cut steaks or make burger (which we have enough of from my elk to get us through the year), but to make sausage.

Using this kit, the Mountain Man Original Breakfast Sausage kit from Hi Mountain Seasonings, we used 12 lbs of venison that we had already previously grinded, and added in 6 lbs of grinded pork. For the best flavor at a cost-effective rate, we typically buy pork butt roasts (“Boston butts”) to add in with the venison when making summer sausage and breakfast sausage.  We bought 4 pork butt roasts from Smith’s during our trip to the big city last weekend using my Smith’s card, and after trimming them of excess skin, ground them up for a total of 22 pounds of pork for right around $50.

We added in both of the included pouches of seasonings into the vension/pork meat mixture and combined them together in the electric mixer for about 5 minutes. Last year when we followed the instructions pound-for-pound using a different flavor, we found our sausage to be very bland, and this year it is perfect, so I would recommend adding in a little more seasoning than is called for to get the best results.

Let the photo above be a reminder of how important it is to label what you process because even though you think you will remember the difference between the white bags and white with black bags six months from now, there is a good chance you won’t. Same with steaks and such– I opened an unlabelled vacuum-sealed package a few months back to find that it wasn’t leftover ground bratwurst as I had planned, but unknown-species steaks!

Typcially the game processing for us goes something like this: let meat hang in shop, butcher, wrap steaks using vacuum sealer, process immediately or freeze remaining meat to grind and then process later (1 week- 1 month later) into one of the following: burger, breakfast sausage, summer sausage, snack stick, trail bologna, and this year even pepperoni,which I cannot wait to try! Homemade pizza recipes to come!

If you have the resources available or can team with someone else who does, I highly recommend making some of this breakfast sausage. Also, slowly adding to your meat processing equipment year by year is a good way to gradually build up, without breaking the bank. A vacuum-sealer one year, grinder the next, etc. will go a long way toward enabling you to process your meat yourself. We are fortunate to be able to team with both sets of parents in sharing equipment, so that everyone benefits in the end. If your family lives close, meat processing equipment makes great gifts, just a thought for those holiday shoppers out there!

Venison Potato Brat Omelet

I have eaten my fair share of deer brats over the past 10 months and still have about 15 packages to go. While I am so thankful for the deer, harvested last fall with my late season deer tag, and for the meat it provided us, I am a little tired of eating brats in the traditional form on a bun (or in a rolled up piece of bread if you too cheap to buy buns, wink wink). To use up the rest of the stockpile, I have gotten creative. This is the second time I have made Venison Potato Brat Omelets. I really like eating brats this way, and it is a filling, quick, and inexpensive meal that would be great for breakfast, too. This is a basic recipe, so of course feel free to add additional vegetables, different cheeses, etc. to suit your taste.

Venison brats, thanks to this guy:

For this recipe you could substitue non-game brats just as easily. To make the venison brats, we used a kit from Hi Mountain Seasonings and added in frozen hash browns and diced yellow onions while grinding the meat prior to stuffing it into casings. Hi Mountain is a local company that has a variety of products to process your own game.

Venison Potato Brat Omelet

Serves 2

2 Venison brats

1 T. olive oil

1/4 c. diced yellow onion

2 diced green onions (I had just harvested them from the garden and needed to use them)

3 eggs

1 T. milk

2 oz. pepperjack cheese, slices torn up or shredded

1/2 c shredded cheddar cheese

1/2 c water

salsa, optional

~~~~~~~~~~~~~~~~~~~~~~~~~~~~~~~~~~~~~~~~~~~~~~~~~~~~~~~~~~~~~~

1. Dice onions and sautee in 1 T. olive oil. Slice up uncooked brats into round pieces and add to onions.  Add 1/2 c water to frying pan so that the brats don’t get scorched. Cook on medium heat covered with lid. Stir gently with a spatula every few minutes and add more water if necessary.

2. Meanwhile, scramble 3 eggs with 1 T. milk. Season with salt and pepper if desired.

3. The brats take about 10-15 minutes to cook through. Once they are done, turn down the heat to low and add in the egg mixture.

4. Cover with lid, cook on low for 1-2 minutes until eggs begin to set and turn off heat.  Once eggs begin to set, add cheeses and cover with lid to melt the cheese. DO NOT STIR. Make sure the heat is low enough here that the bottom does not burn.

5. Remove from heat and use a spatula to cut omelet into pieces. Serve with salsa if you like.