Deer that Swim Rivers + Stuffed Backstrap

Chive & Onion Stuffed Venison Back strap

Serves 2

  • 1 Venison back strap
  • 4 oz. Chive & Onion Cream Cheese
  • 2 slices thick bacon
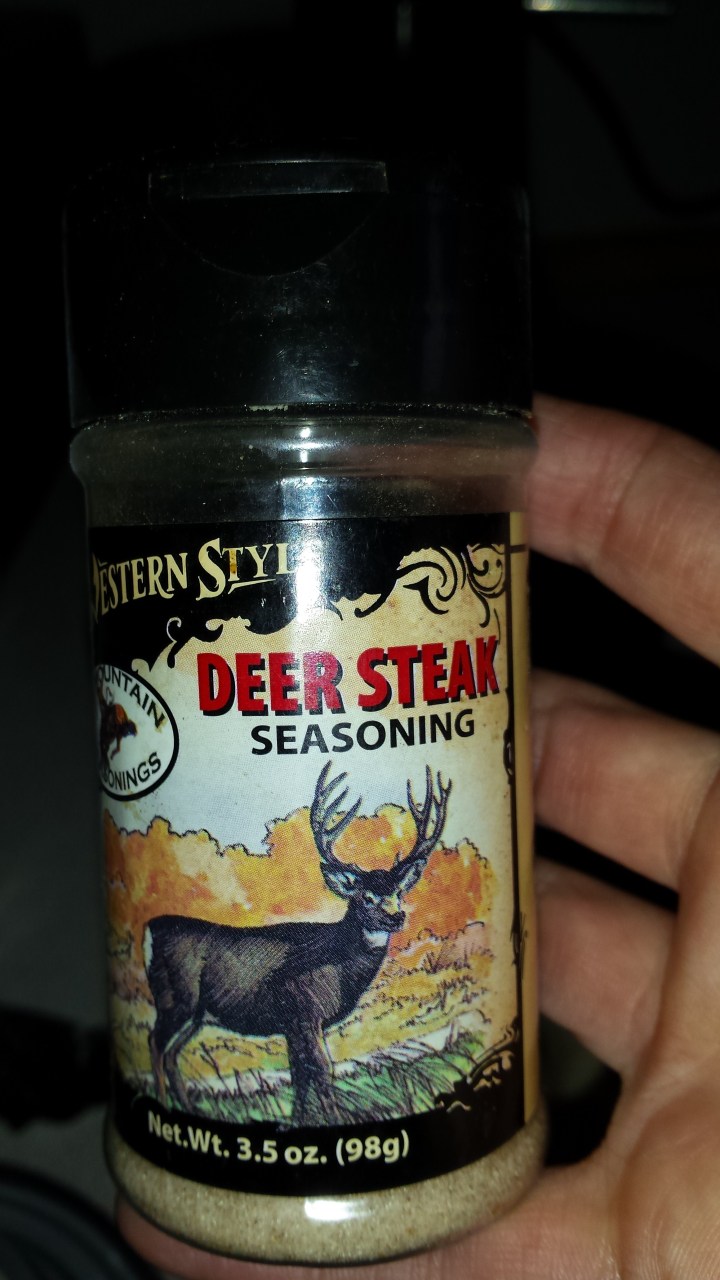
  • Deer seasoning- I use Hi Mountain Seasonings
  • Meat mallet or hammer wrapped in foil

To Prepare:

  1. Preheat oven to 350.
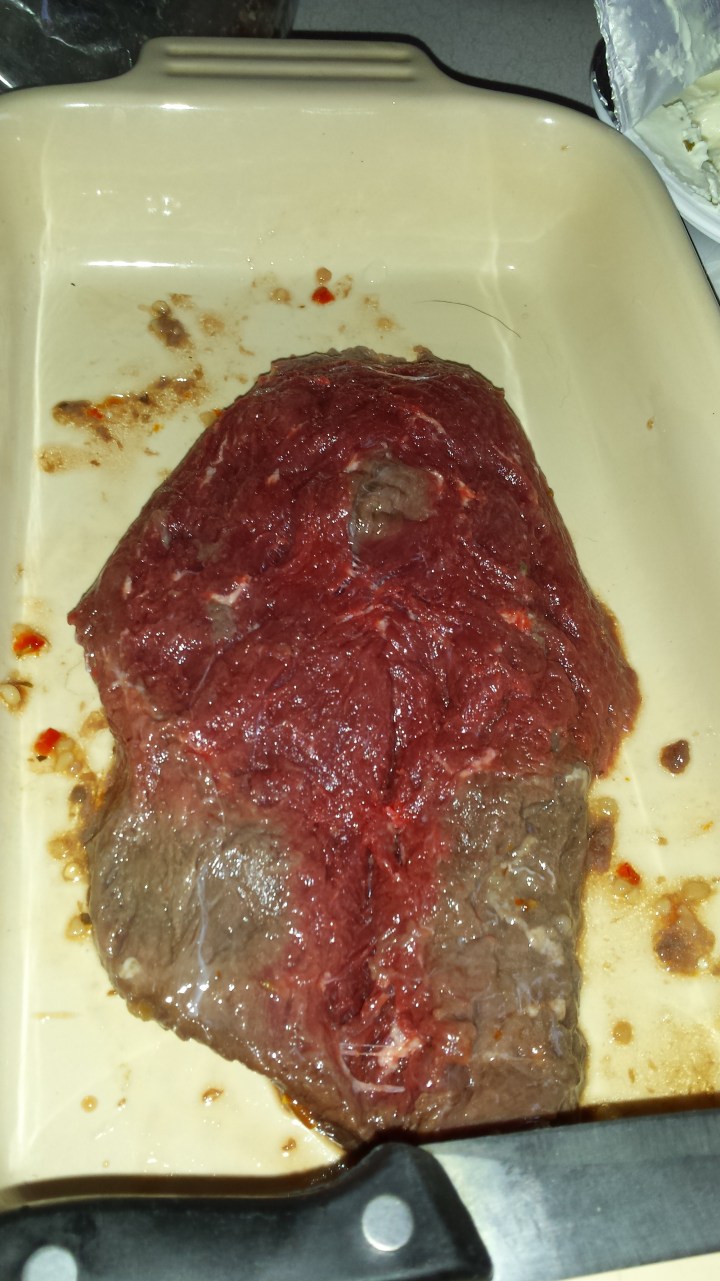
  2. On a cutting board, butterfly and tenderize meat with a mallet (or hammer wrapped in aluminum foil works too) so it flattens thin. Place in baking dish.
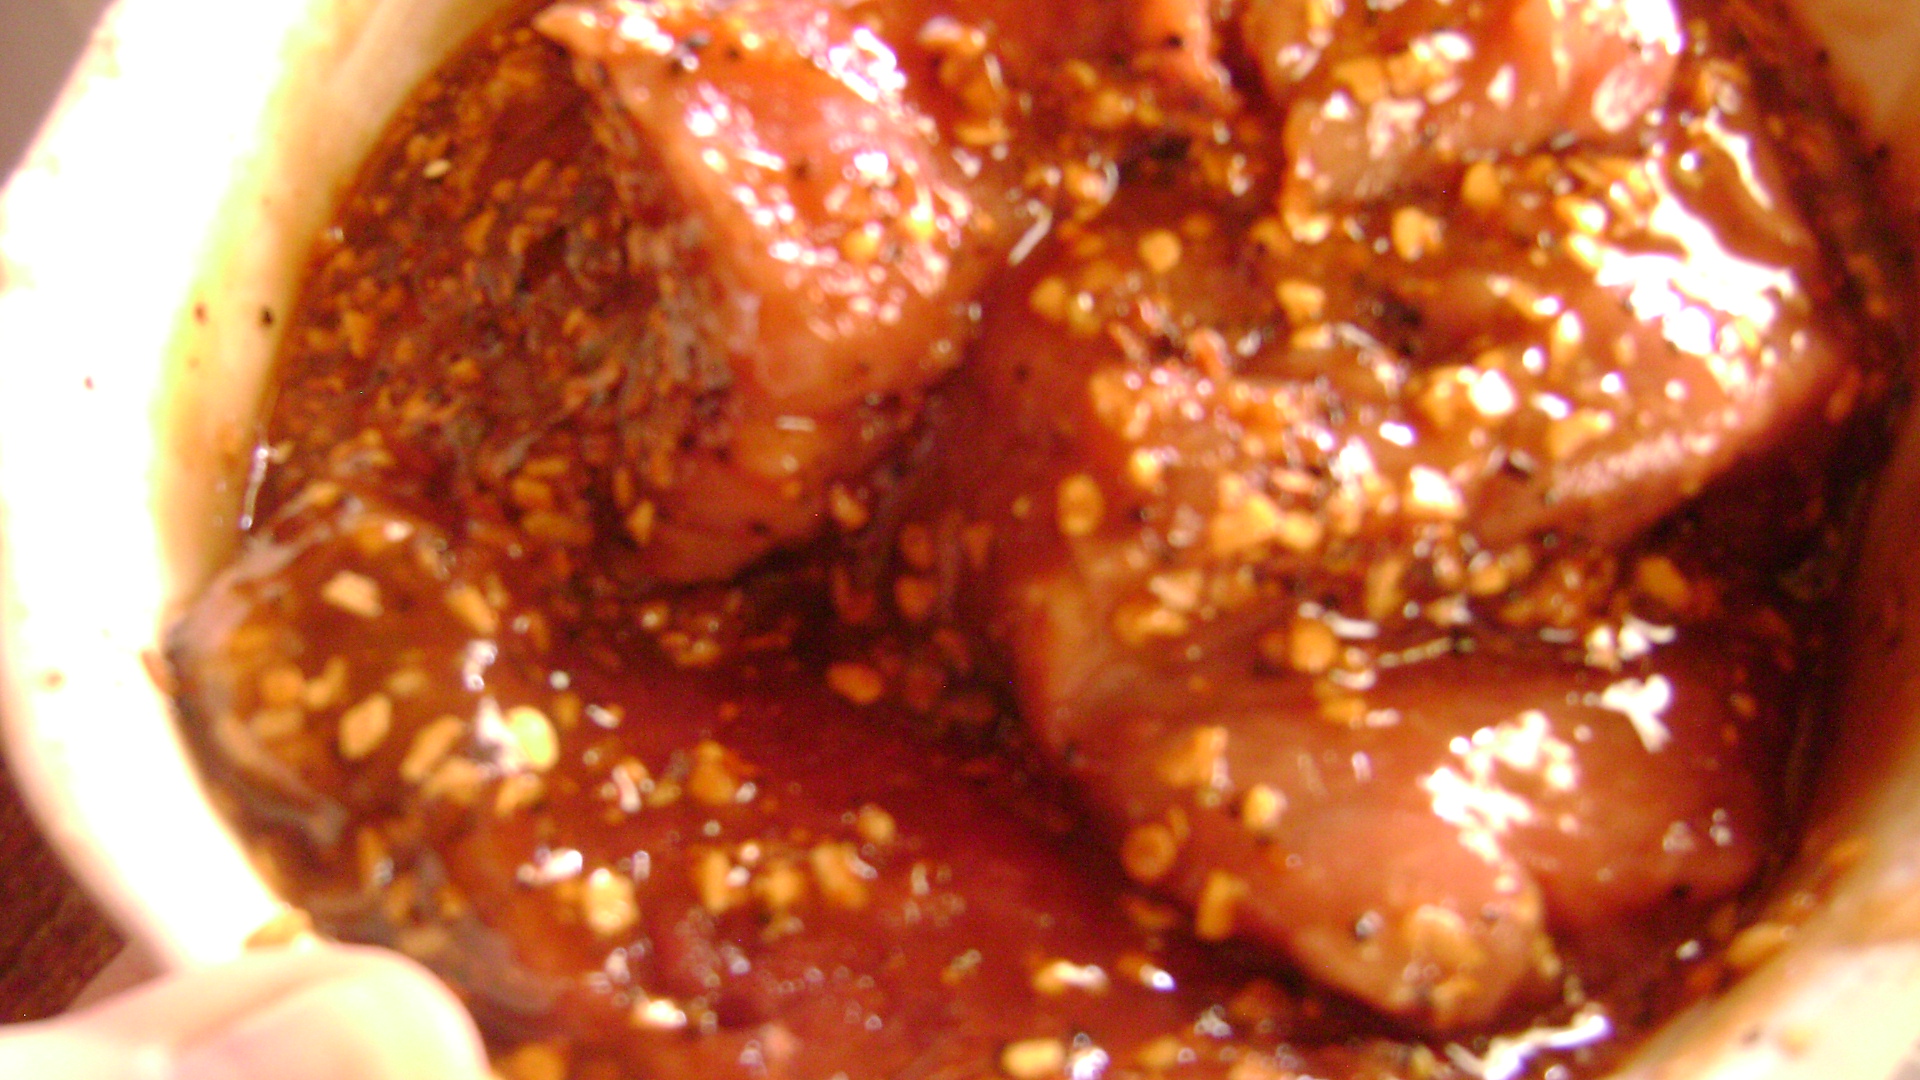
20151015_175351

2. Season with Deer SeasoningHi Mountain Seasonings is based out of Riverton, Wyoming, our nearest neighboring town, and has some great products for jerky & sausage making.

20151015_175904

3. Spread 1/2 the container (4 oz.) of cream cheese down center line of steak.

20151015_175439

4. Roll steak up & tightly wrap one piece of bacon around each end of steak to secure. 20151015_175629

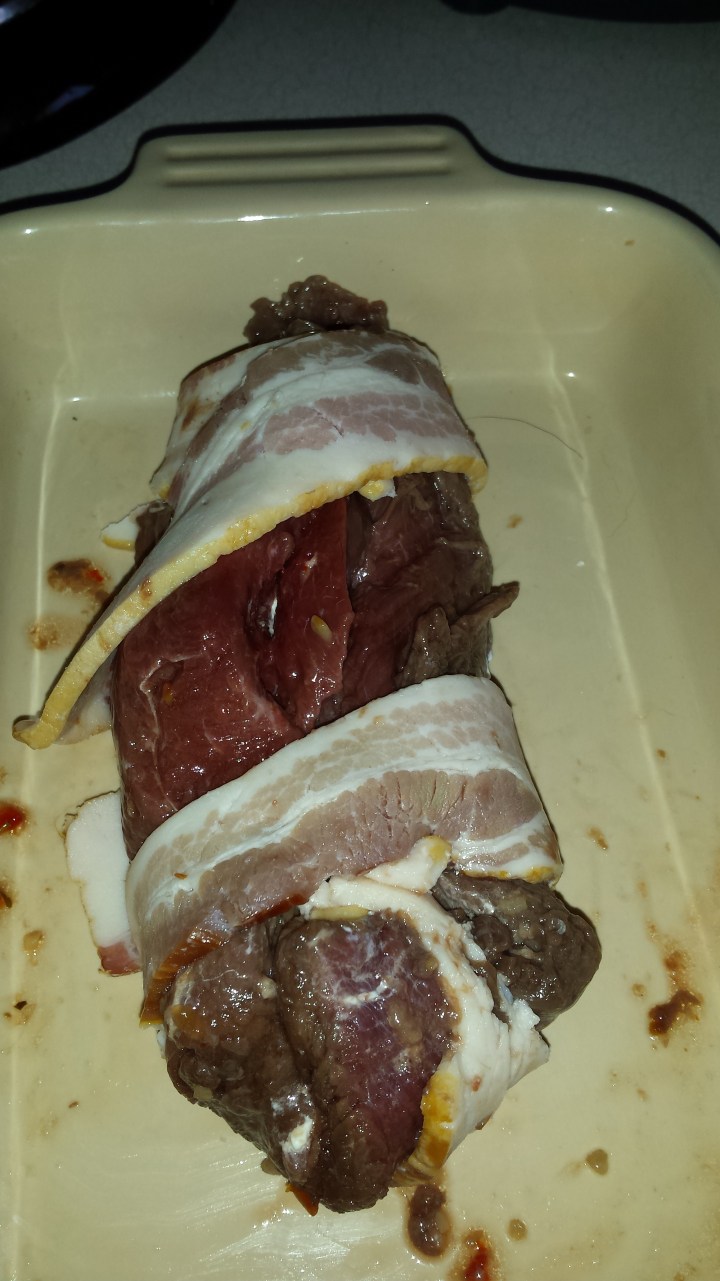
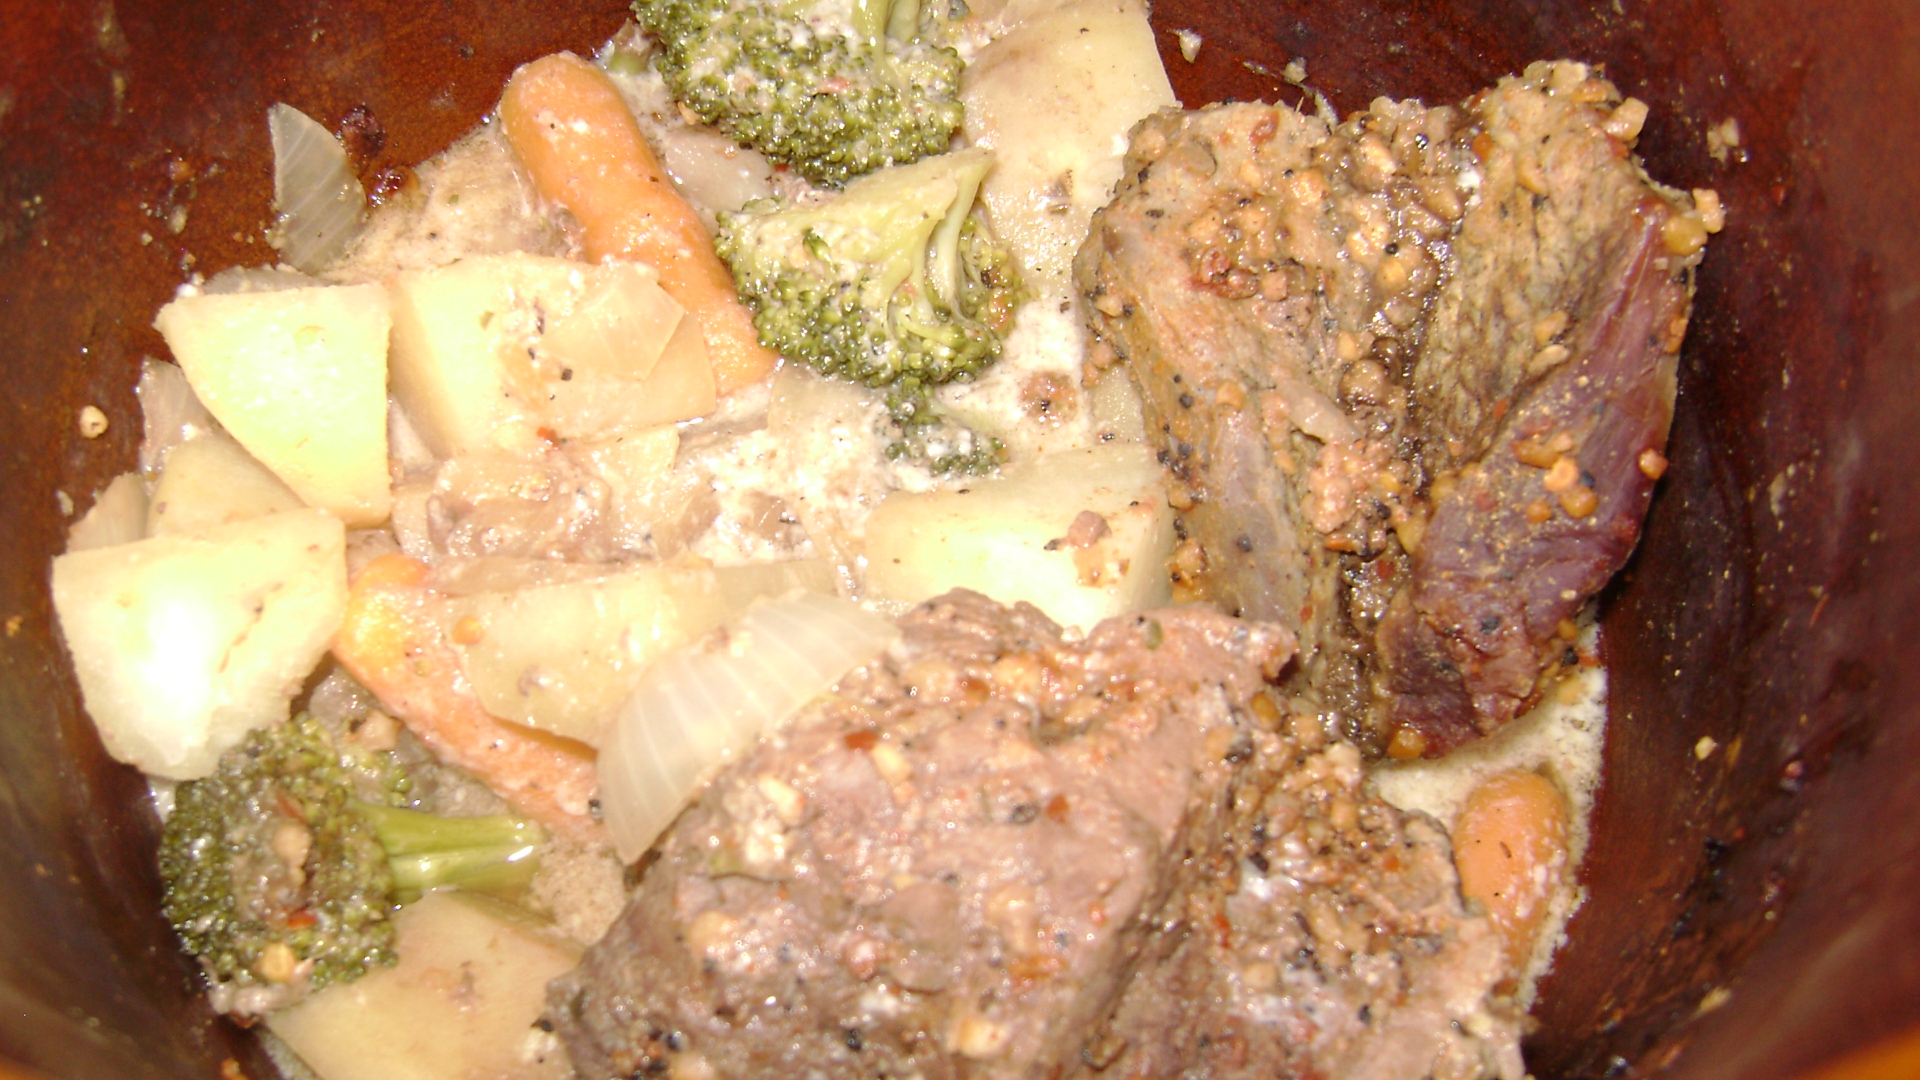
5. Bake for 30-40 minutes–check at 30 minutes. It took mine 35 minutes to get to medium rare. 20151015_185052

Last year after harvesting a bull elk I decided that the next season I would focus on deer hunting. This turned out to be a good decision, seeing as how little did I know, I would be unable to hike or ride a horse by the time hunting season came around this year due to a bad herniated disc.

Keeping in mind areas that required little walking, Joe and I set out in the truck in search of a whitetail one evening after work, to a spot where he had seen one earlier in the week. After a short five minute walk, which at this point I could handle because it was right after my third steroid injection, we came up to the top of the small hill where we planned to sit out of sight and watch the area below. Except, when we got to the top of the hill, standing below 130 yards away on the other side of the Wind River was a heavy mule deer buck.

So much for sitting and waiting. Joe & I crawled over the rocky ground about 20 yards through sage brush and cactus, me holding my gun in one hand and my coat sleeve over the other. I got to a rock where I could lay down and get a good rest, with the deer still unaware of our presence above him. I took my time and squeezed off a shot before he moved any further behind a willow bush. He took a few steps forward, and I still had a shot, which I took just in case.

I couldn’t have been happier at how it all turned out. However, really the fun part had just begun. Now we had to get this guy across the river, which is knee/thigh high on a man, swift, and about 25 yards across. The outfitter that Joe guides for lives nearby and brought his 4-wheeler, however the willows were so dense in the marshy area along the riverbed there was no getting to the river with it. Now, with daylight waning, Joe donned chest waders and made his way across the water with rope and his knives while I waited. After gutting the deer, he proceeded to cut it in half and swim each half across the river in the dark using rope tied off to a thick stick which he hung on to. It was  both comical and a little nerve-wracking to watch! Seeing the amount of force generated by the current pushing the dead weight of the animal downstream was intense. Success!

20151007_193709_LLS
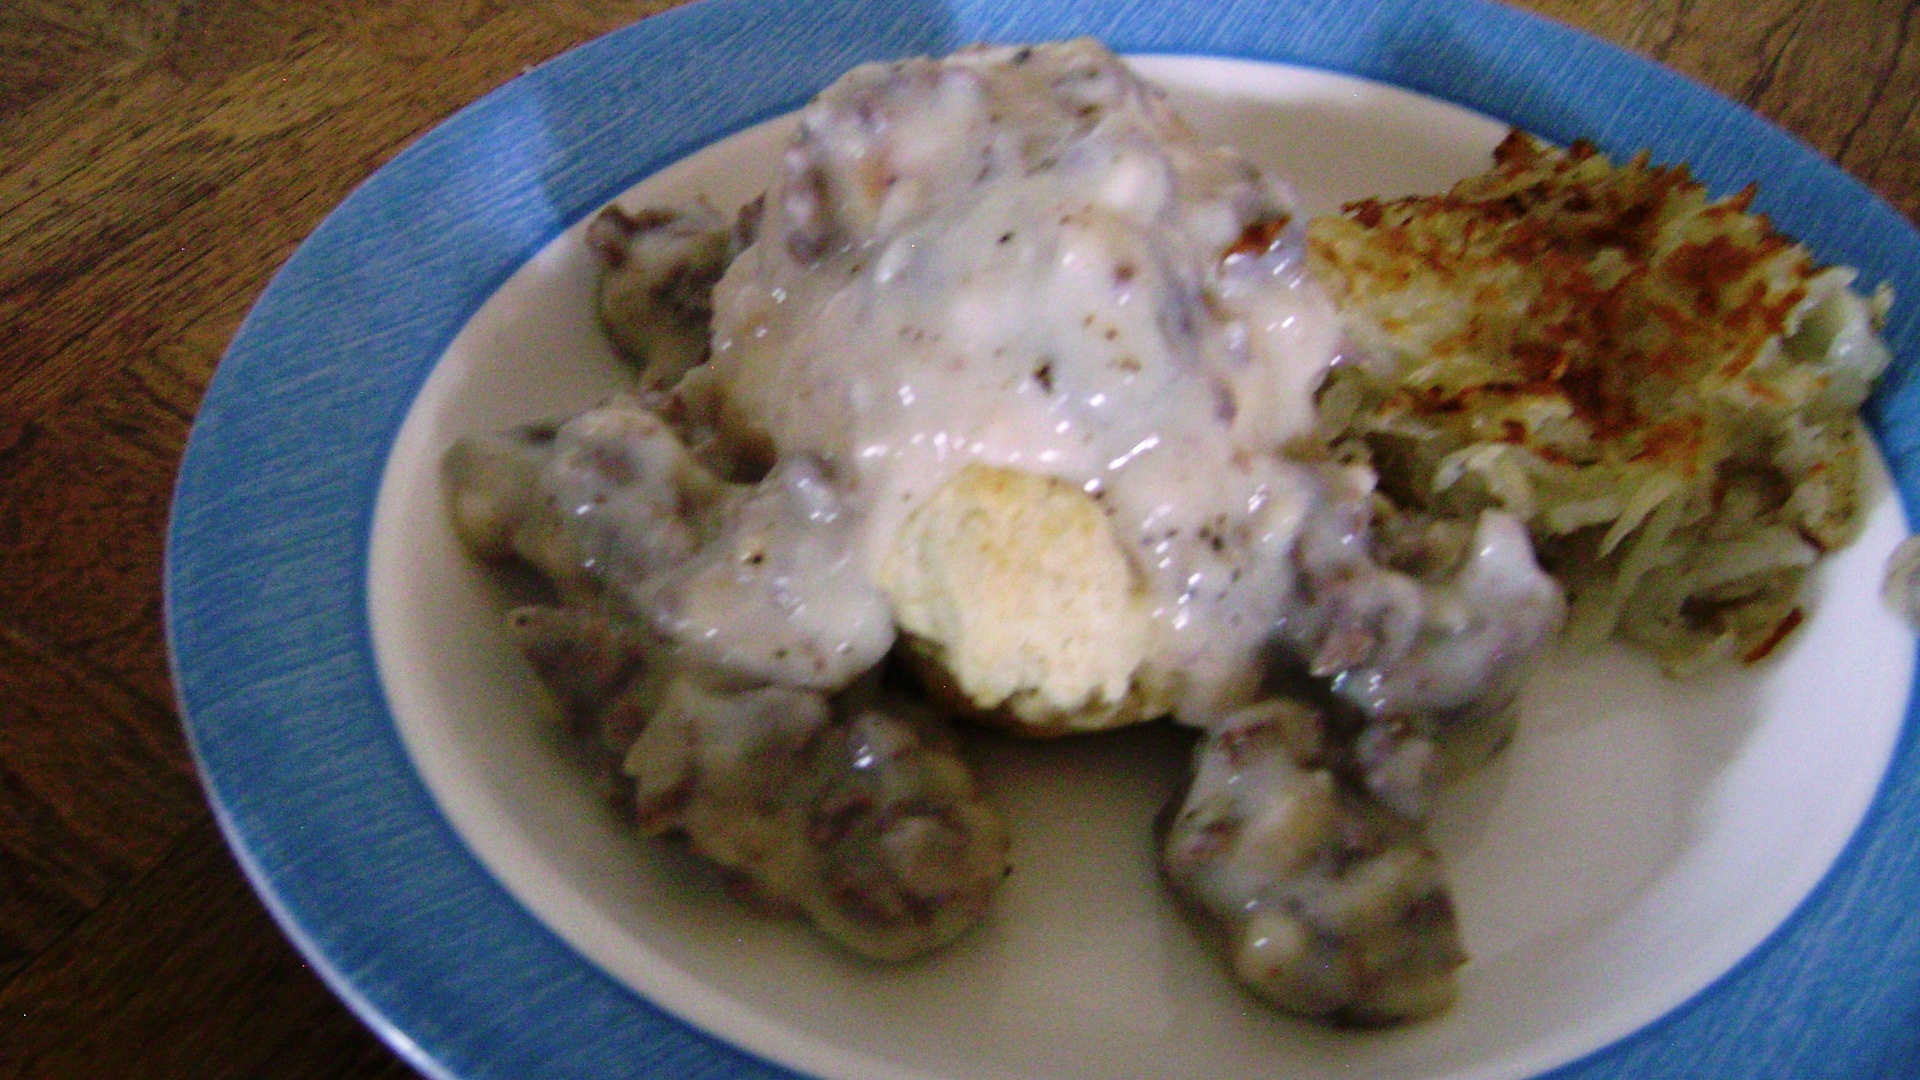
A few days later I cooked up the back strap, and the combination of tender venison and chive and onion cream cheese held in place by bacon was quite tasty.


Advertisement

Venison Sausage Biscuits & Gravy for Two with Homemade Hash Browns

???????????????????????????????

This is not a quick breakfast to make since it is completely from scratch, but it IS worth the time to make it. It’s a nice weekend breakfast for when you have a little extra time to cook in the morning and enjoy a hearty meal. On a snowy Saturday morning a few weeks ago, I decided to switch up the usual eggs and bacon/ breakfast sandwich routine for this recipe. I needed to use up a partial package of venison sausage I had in the freezer and pulled out my old dutch oven recipe for biscuits and gravy. But first, get the hash browns going because they take a while!

Hash Browns:

  • 1 Russet Potato, peeled
  • 1 T. Butter
  • Garlic salt
  • Black pepper

1. Peel potato and grate into shoestrings.

2. Spray with cooking spray an aluminum dutch oven or frying pan and add in 1/2 T. butter.

3. Add in potatoes in a thin layer and turn heat to medium-low. Watch carefully that the heat is not too high; they need to cook low and slow.

4. Flip potatoes every 3-4 minutes while adding in remaining butter until outside is browned and inside is no longer mushy. This will take about 20 minutes.

???????????????????????????????

MEANWHILE… start making your biscuit dough.

Fluffy Biscuits:

Yield- 7

  • 2 cups flour
  • 1/2 tsp. salt
  • 1 T. Baking powder
  • 1/4 cup shortening (crisco)
  • 1 cup milk

Blend flour, salt, and baking powder and mash in shortening with a fork until crumbly.

???????????????????????????????Add milk and stir until dough sags down into trough and pulls away from bowl edge.

???????????????????????????????

Place dough on lightly floured surface, knead for 30 seconds, pat out gently until 1/2 inch thickness. Pinch off pieces of dough and shape into a smooth ball. Place biscuits into a greased dutch oven or pie pan.

???????????????????????????????

Cook 10-12 minutes at 350 until biscuits are golden brown.

???????????????????????????????

WHILE the biscuits are taking form in the oven, make your gravy.

Venison Sausage Gravy:

  • 1/2 lb. ground venison breakfast sausage (links to my homemade recipe)
  • 1 cup Milk
  • 1/2 cup Flour
  • 1/2 cup water
  • Salt and black pepper

Brown sausage in frying pan. Add milk and while milk is still cool, add in flour and water.

???????????????????????????????

Stir constantly as the mixture thickens over medium-low heat until it reaches desired texture.

???????????????????????????????Salt and pepper to taste & serve over biscuits for a delicious, homemade breakfast.

???????????????????????????????

Crockpot BBQ Elk Round Steak with Veggies

I came up with this recipe a few weeks ago after not having had time to marinade the elk steaks I pulled from the freezer, or plan a meal for dinner that night. During my lunch break I threw this together using what I had in the fridge and left the crockpot to do its job during the afternoon. I picked up a brown gravy packet on the way home from work to finish off the meal. Cooking the round steaks LOW and SLOW with the BBQ sauce and steak seasoning made the meat tender and gave it a nice spicy flavor. No gamey taste at all.

DSC01252

Crockpot BBQ Elk Round Steak with Veggies 

Serves 2

  • 3/4 lb. elk (or venison) round steak
  • ~14 baby carrots
  • 1/4 c yellow onion, sliced
  • 1 russet potato, peeled and cubed
  • 1 head (about 1.5 cups) broccoli
  • 1 Tbsp. margarine or butter
  • 1/2 cup cream of mushroom soup
  • 1/4 cup beef broth
  • 1/2 Tbsp. Worchestshire
  • 1 package brown gravy mix (I used low-sodium)
  • 2 Tbsp. BBQ Sauce
  • Steak seasoning- I used this from Hi Mountain Seasonings
  • Garlic salt
  • Montreal Chicken Seasoning
  • Season Salt
  • Black pepper

Clean and chop vegetables. Feel free to use more onion, I didn’t have time during my lunch break to peel and cut another one, so I just used up what I had.

Melt margarine in frying pan and saute vegetables until carrots, onion, and broccoli are tender, about 10-15 minutes. I had to had a small amount of water to the pan two or three times to keep the veggies from buring. Potatoes should be softer but not yet fully cooked. Season vegetables with montreal chicken seasoning, garlic salt, and black pepper.
DSC01246

Place steaks in a bowl and season liberally with steak seasoning. Pour on BBQ sauce and swirl steaks around in the bowl so that the meat is coated completely.

DSC01250 DSC01249

Place cream of mushroom, beef broth, worchestshire, and partially cooked vegetables into the bottom of the crockpot.

Lay steaks on top. Sprinkle everything lightly with a pinch of season salt.

Cook on LOW for 6 hours. Liquid will form in the crockpot while cooking–this is good– you will want to save and use this! Pour off and measure one cup of the liquid that forms in the crockpot to use to make the gravy.

DSC01253

When ready to serve, prepare the gravy: In a small saucepan, add the 1 cup of liquid reserved from the crockpot to the brown gravy mix and whisk on medium heat for 2 minutes until gravy thickens.

Serve steak and vegetables with brown gravy.

~~~~~~~~~~~~~~~~~~~~~~~~~~~~~~~~~~~~~~~~~~~~~~~~~~~~~~~~~~~~~~~~~~~~~~~

Interesting Reads:

Viewing Wyoming’s bighorn sheep herds

Primal eating plan

Making Your Own: Venison Breakfast Sausage

What can I say, nothing beats homemade breakfast sausage that tastes as good or better than the storebought variety. While I know it is not always possible to do for a variety of reasons ranging from cost to time to lack of space, I also really appreciate being able to be a part of the entire hunting process, from the harvest to the processing to putting the meal on the table. Yesterday Joe and I made 18 lbs. of venison breakfast sausage with his late whitetail buck. He is a very nice older deer who will eventually have a place on our wall, and as such, we decided not to just cut steaks or make burger (which we have enough of from my elk to get us through the year), but to make sausage.

Using this kit, the Mountain Man Original Breakfast Sausage kit from Hi Mountain Seasonings, we used 12 lbs of venison that we had already previously grinded, and added in 6 lbs of grinded pork. For the best flavor at a cost-effective rate, we typically buy pork butt roasts (“Boston butts”) to add in with the venison when making summer sausage and breakfast sausage.  We bought 4 pork butt roasts from Smith’s during our trip to the big city last weekend using my Smith’s card, and after trimming them of excess skin, ground them up for a total of 22 pounds of pork for right around $50.

We added in both of the included pouches of seasonings into the vension/pork meat mixture and combined them together in the electric mixer for about 5 minutes. Last year when we followed the instructions pound-for-pound using a different flavor, we found our sausage to be very bland, and this year it is perfect, so I would recommend adding in a little more seasoning than is called for to get the best results.

Let the photo above be a reminder of how important it is to label what you process because even though you think you will remember the difference between the white bags and white with black bags six months from now, there is a good chance you won’t. Same with steaks and such– I opened an unlabelled vacuum-sealed package a few months back to find that it wasn’t leftover ground bratwurst as I had planned, but unknown-species steaks!

Typcially the game processing for us goes something like this: let meat hang in shop, butcher, wrap steaks using vacuum sealer, process immediately or freeze remaining meat to grind and then process later (1 week- 1 month later) into one of the following: burger, breakfast sausage, summer sausage, snack stick, trail bologna, and this year even pepperoni,which I cannot wait to try! Homemade pizza recipes to come!

If you have the resources available or can team with someone else who does, I highly recommend making some of this breakfast sausage. Also, slowly adding to your meat processing equipment year by year is a good way to gradually build up, without breaking the bank. A vacuum-sealer one year, grinder the next, etc. will go a long way toward enabling you to process your meat yourself. We are fortunate to be able to team with both sets of parents in sharing equipment, so that everyone benefits in the end. If your family lives close, meat processing equipment makes great gifts, just a thought for those holiday shoppers out there!

Venison Potato Brat Omelet

I have eaten my fair share of deer brats over the past 10 months and still have about 15 packages to go. While I am so thankful for the deer, harvested last fall with my late season deer tag, and for the meat it provided us, I am a little tired of eating brats in the traditional form on a bun (or in a rolled up piece of bread if you too cheap to buy buns, wink wink). To use up the rest of the stockpile, I have gotten creative. This is the second time I have made Venison Potato Brat Omelets. I really like eating brats this way, and it is a filling, quick, and inexpensive meal that would be great for breakfast, too. This is a basic recipe, so of course feel free to add additional vegetables, different cheeses, etc. to suit your taste.

Venison brats, thanks to this guy:

For this recipe you could substitue non-game brats just as easily. To make the venison brats, we used a kit from Hi Mountain Seasonings and added in frozen hash browns and diced yellow onions while grinding the meat prior to stuffing it into casings. Hi Mountain is a local company that has a variety of products to process your own game.

Venison Potato Brat Omelet

Serves 2

2 Venison brats

1 T. olive oil

1/4 c. diced yellow onion

2 diced green onions (I had just harvested them from the garden and needed to use them)

3 eggs

1 T. milk

2 oz. pepperjack cheese, slices torn up or shredded

1/2 c shredded cheddar cheese

1/2 c water

salsa, optional

~~~~~~~~~~~~~~~~~~~~~~~~~~~~~~~~~~~~~~~~~~~~~~~~~~~~~~~~~~~~~~

1. Dice onions and sautee in 1 T. olive oil. Slice up uncooked brats into round pieces and add to onions.  Add 1/2 c water to frying pan so that the brats don’t get scorched. Cook on medium heat covered with lid. Stir gently with a spatula every few minutes and add more water if necessary.

2. Meanwhile, scramble 3 eggs with 1 T. milk. Season with salt and pepper if desired.

3. The brats take about 10-15 minutes to cook through. Once they are done, turn down the heat to low and add in the egg mixture.

4. Cover with lid, cook on low for 1-2 minutes until eggs begin to set and turn off heat.  Once eggs begin to set, add cheeses and cover with lid to melt the cheese. DO NOT STIR. Make sure the heat is low enough here that the bottom does not burn.

5. Remove from heat and use a spatula to cut omelet into pieces. Serve with salsa if you like.